DIY Christmas Ornament Chandelier
Please enjoy this DIY Christmas ornament chandelier / bubble chandelier tutorial. This will be a short and sweet post, please refer to the pictures and step by step directions at the end. Feel free to reach out with any questions you may have!
What you’ll need:
Inner portion of a wooden embroidery hoop.
Floral wire.
Scissors or wire cutters.
Thread.
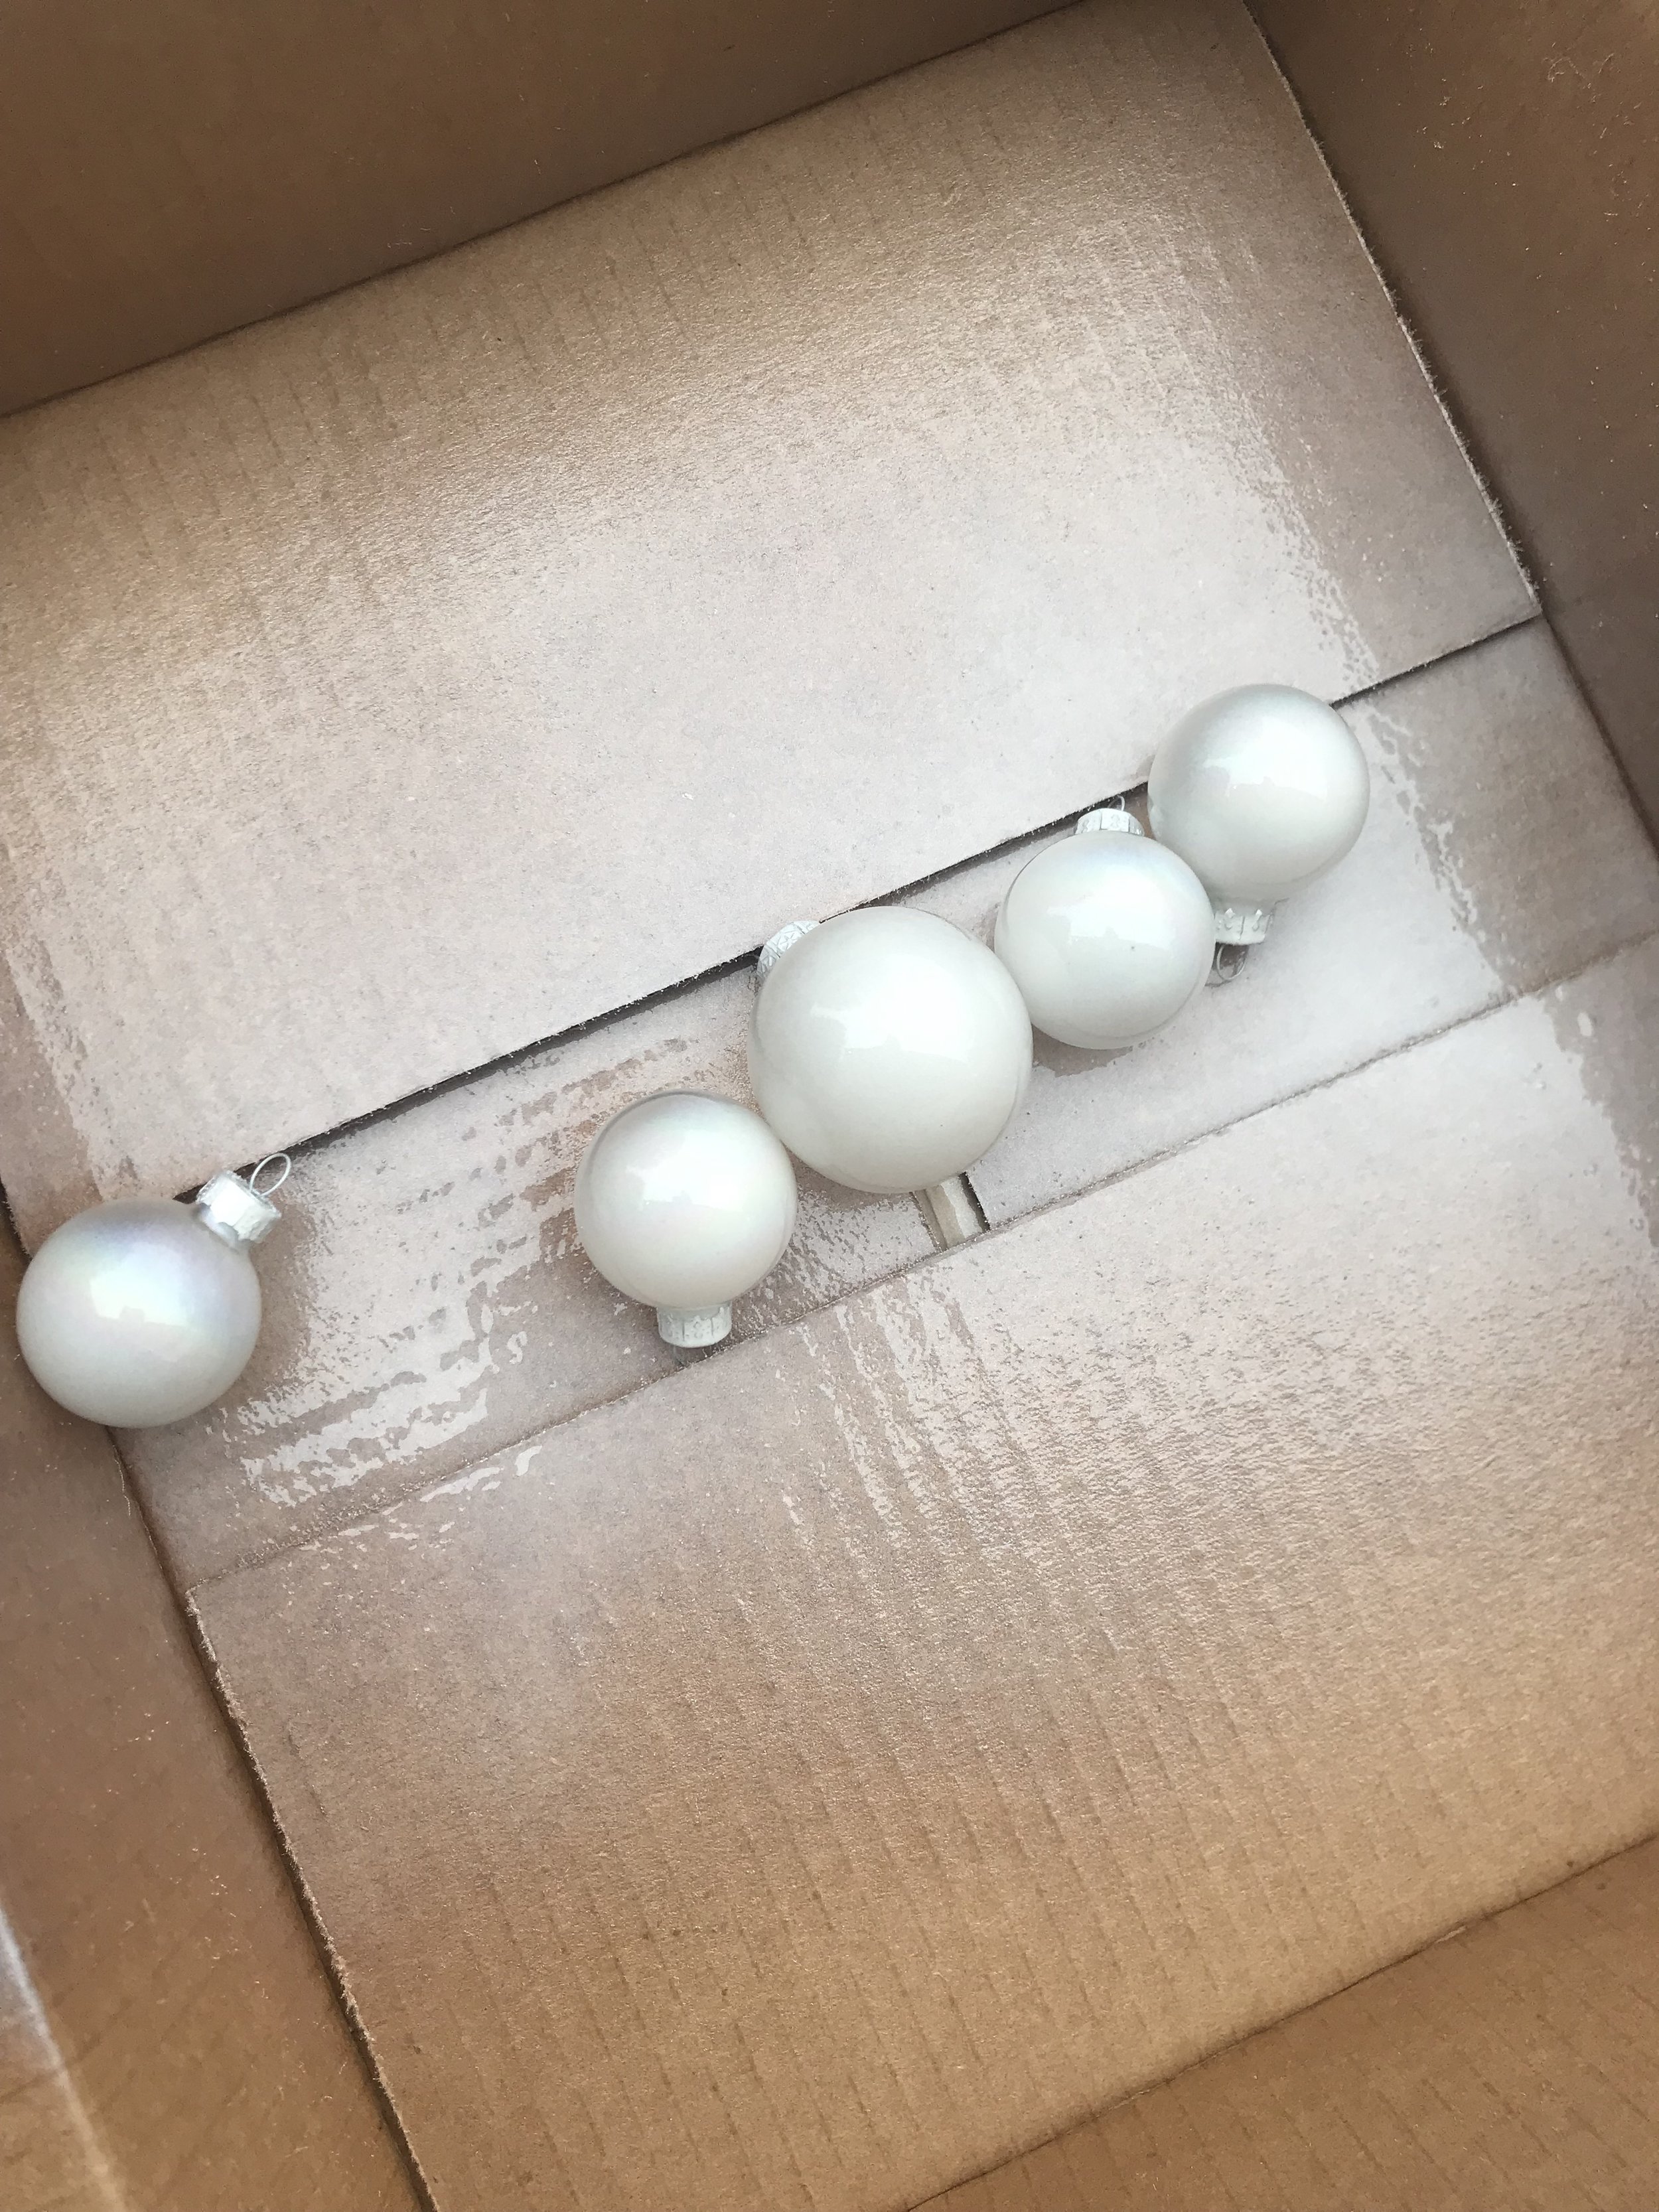
Christmas ornaments in complimentary colors.
Greenery - I used a flock lamb’s war wreath from hobby lobby.
Spray paint if you wish to spray paint any of your ornaments.
A free hanging plug in light (optional).
Basic steps:
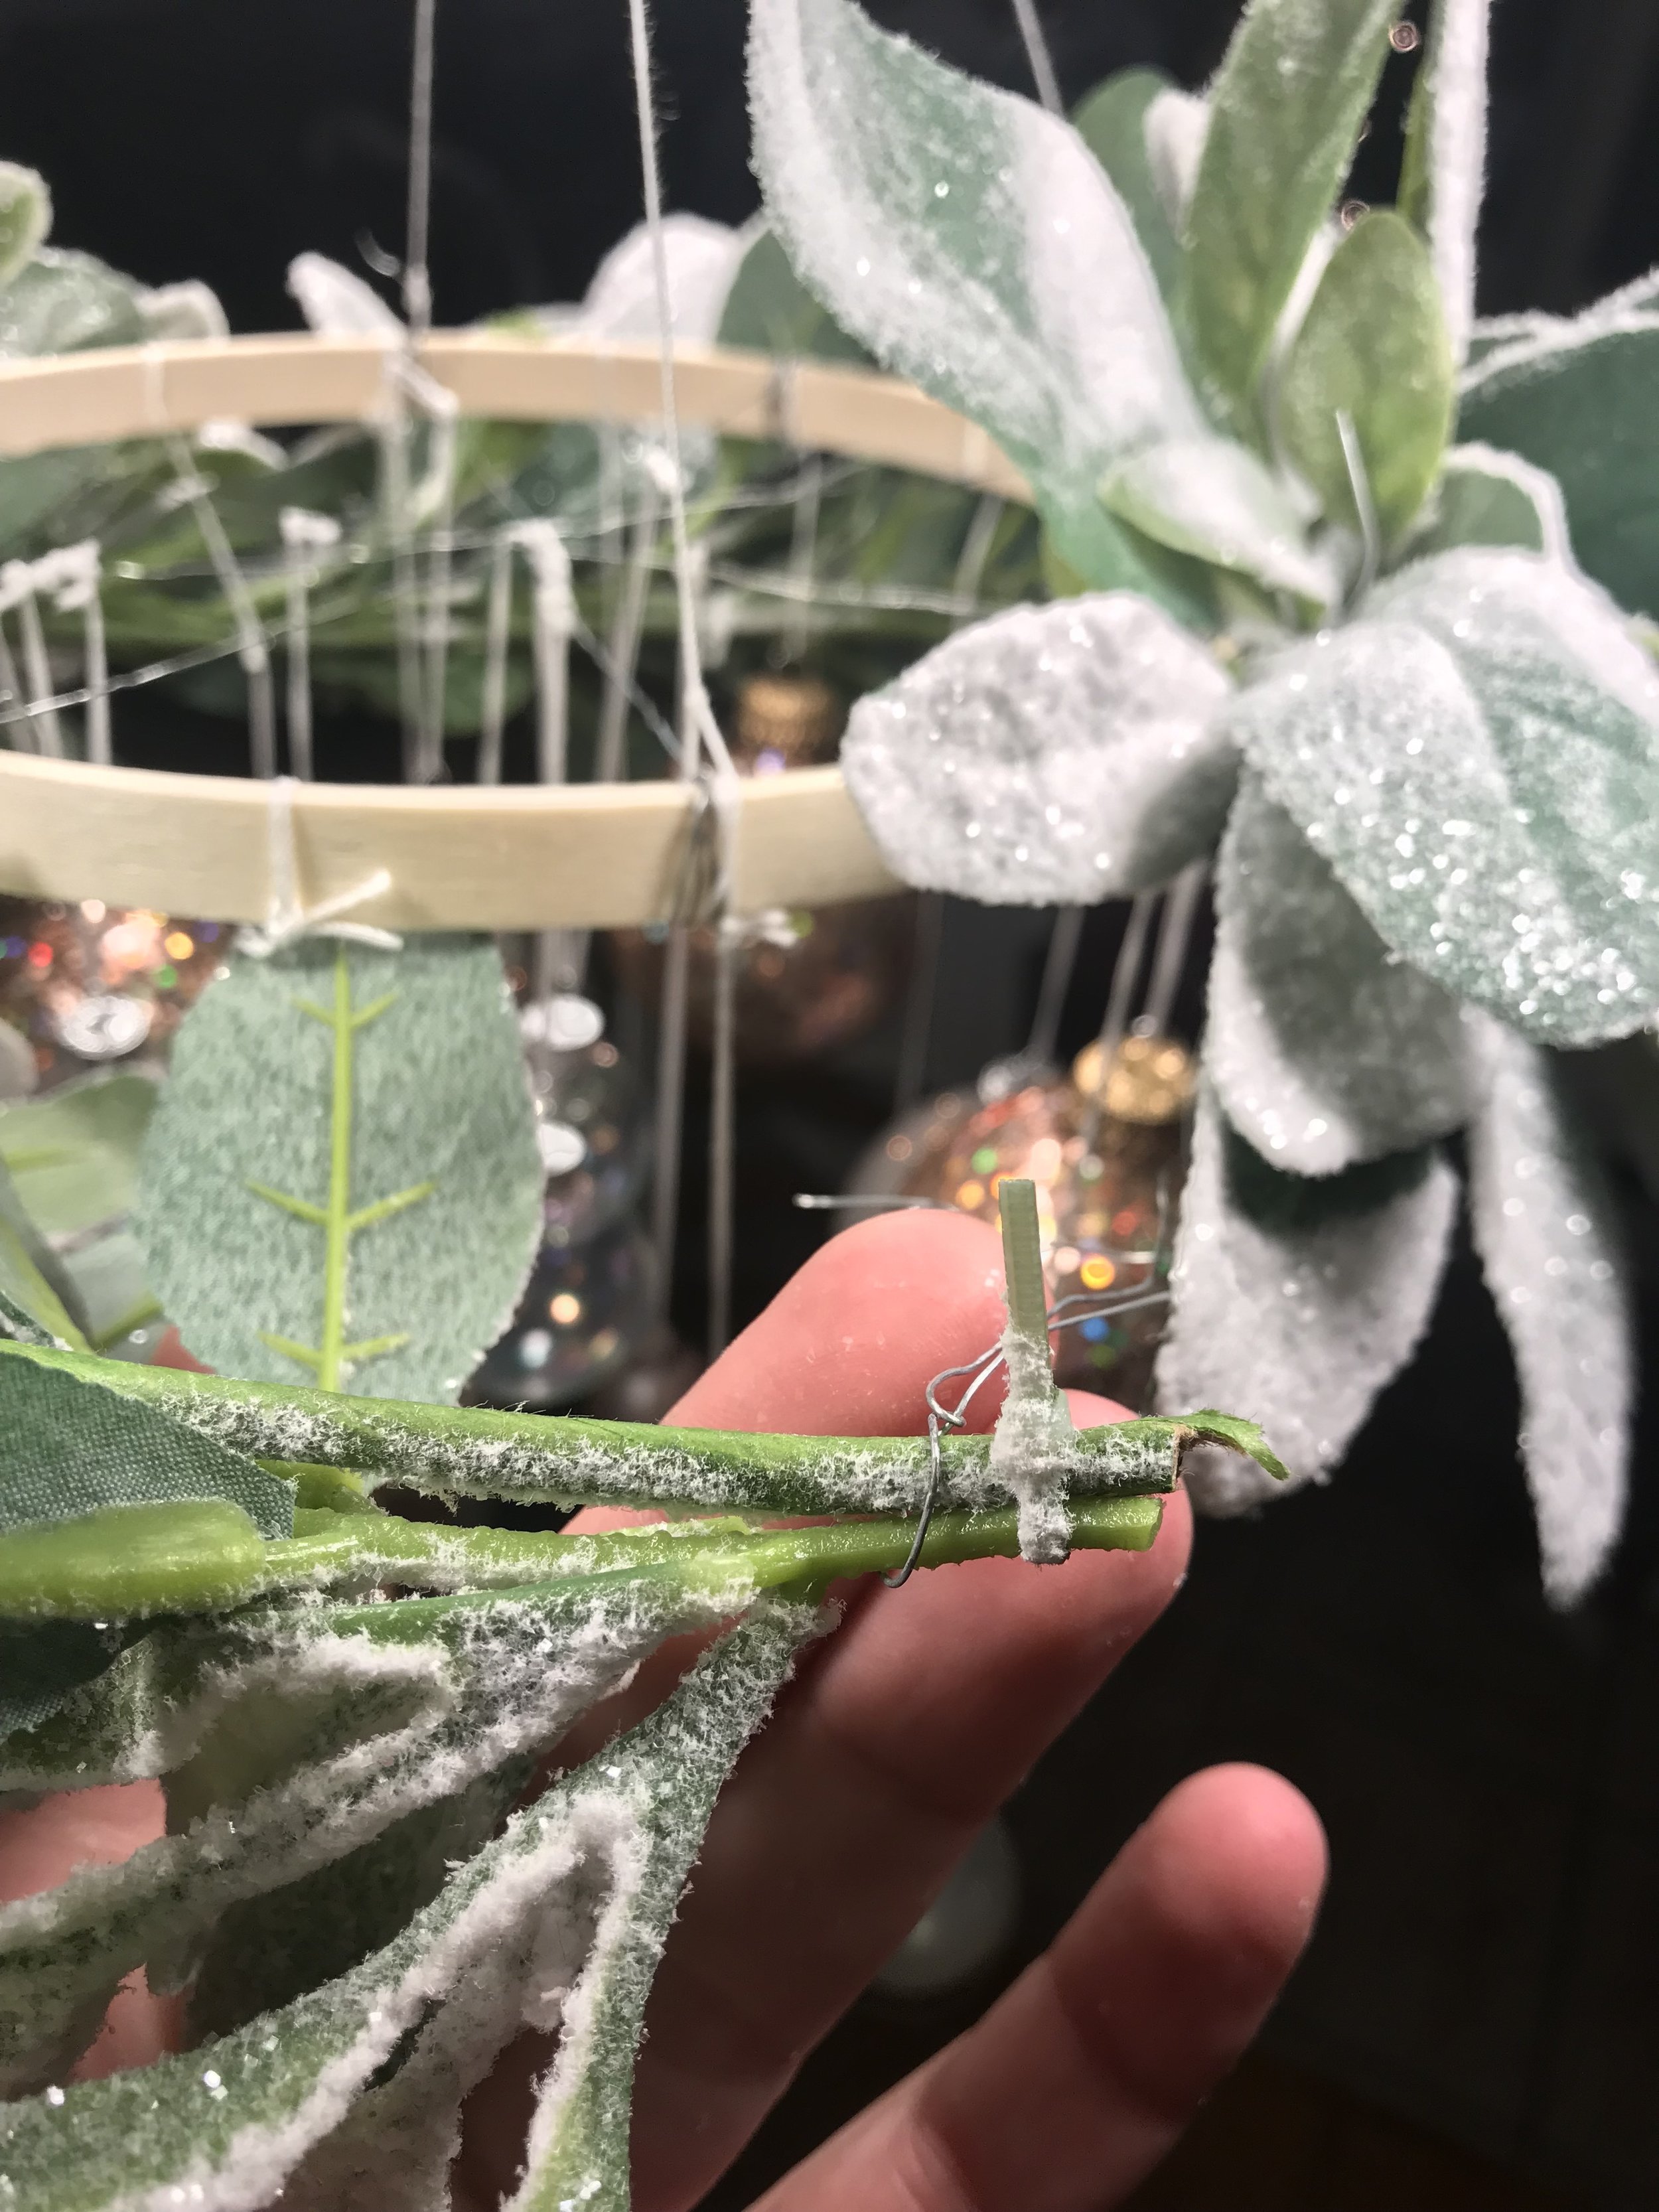
Wrap floral wire through the center of the hoop to create cross sections. This allows for ornament hanging in the center of the chandelier.
Use thread to create a 4-point hanger at the top and hang the chandelier base somewhere where you can work on it.
Paint any ornaments if necessary. I used Rust-Oleum brand spray paint and brushable glitter paint to create more color depth. Allow them to dry.
String the Christmas ornaments using thread.
Starting from the outside of the embroidery hoop, create a staggered pattern with your Christmas ornaments. I worked from largest sizes to smallest, outside of the hoop to inside, highest position to lowest position. I tied the thread to the hoop and wire cross sections as I went.
Once all of the Christmas ornaments are in place trim any excess thread.
Wrap the outside of the hoop with the greenery of your choice. Secure the greenery every 3 inches or so using more of the floral wire.
Lower the light through the center of the wire cross sections and secure using more wire along the 4-point hanger.
VOILA! You have a Christmas ornament chandelier.


