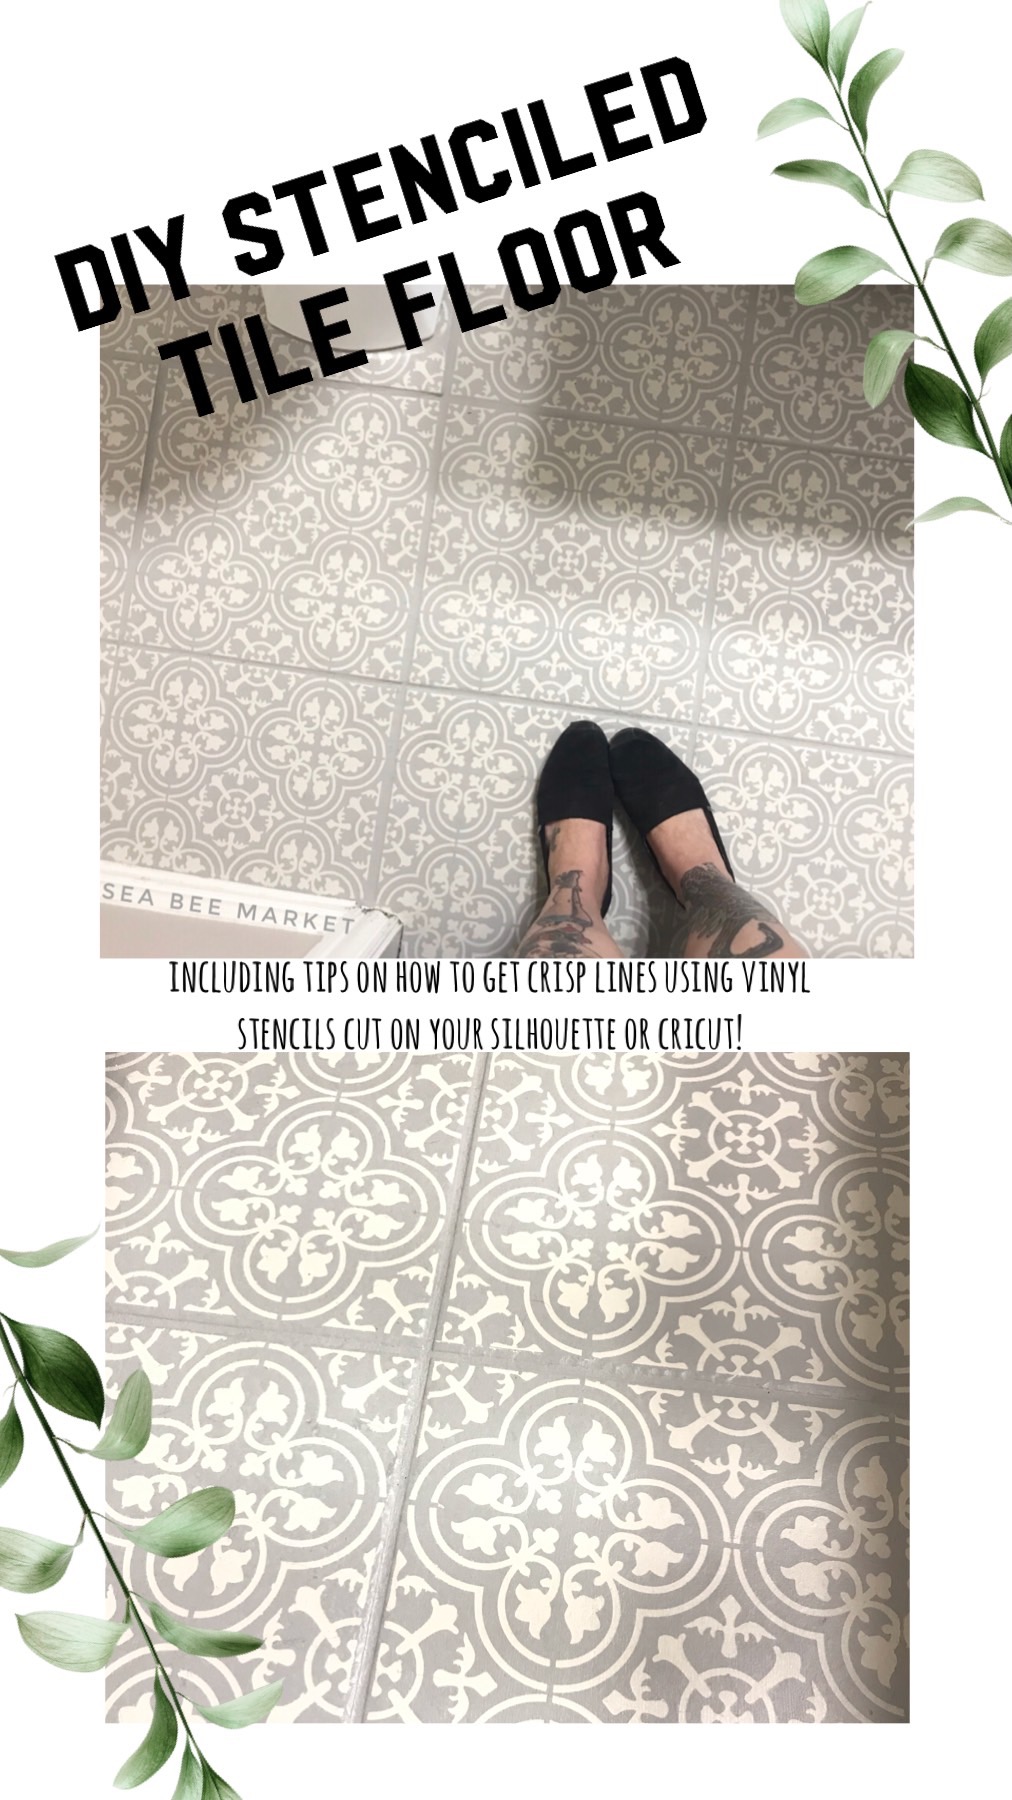
DIY Stenciled Tile Floor Makeover
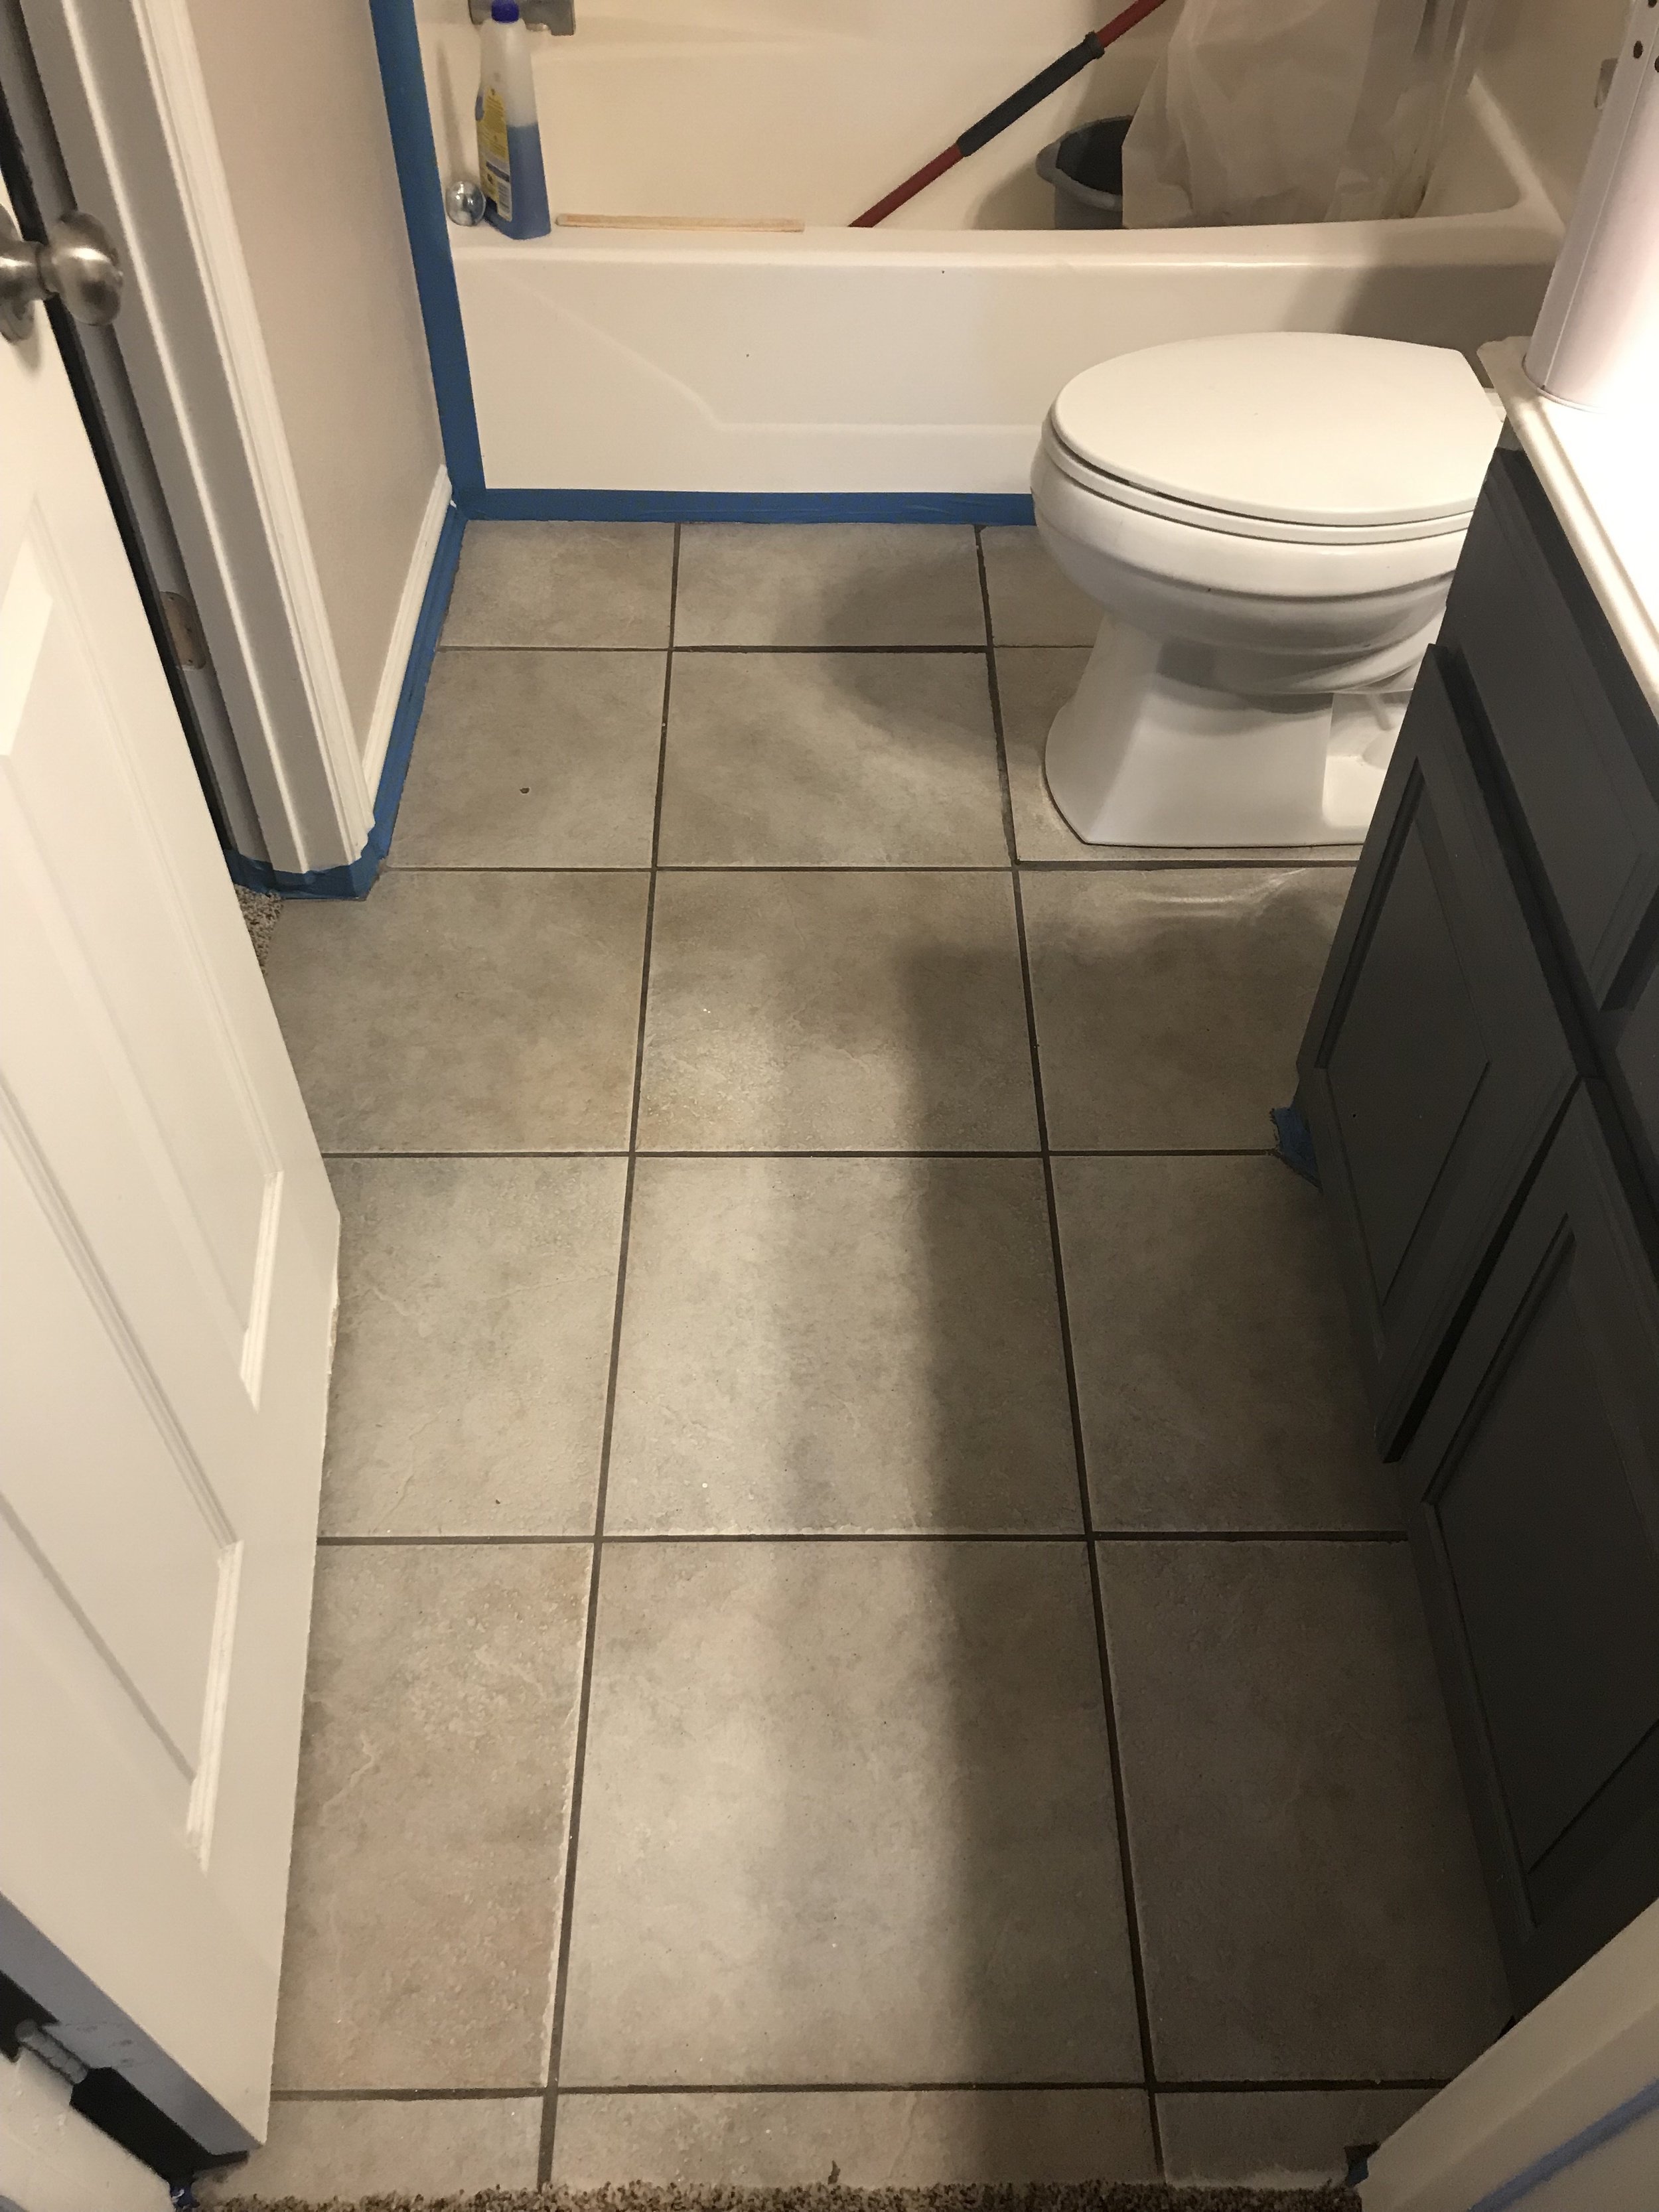
I am hell bent on revamping some (okay all) of the 90’s builder grade details in our home. One of my bigger projects is our master bathroom - a dreary, dated, debacle of a master bath just begging to be loved.
I mean, really, where is the “master” in this bathroom? Trapped in that obnoxious over the toilet cabinet?? I digress.
So this post isn’t about the total bathroom, that’s coming another day. When it’s done. Pray for me pls.
Today we are only talking floors! And how I totally revamped our ugly, dated tile using paint and vinyl stencils cut with my silhouette cameo (or a Cricut).
Like your final AIM away message, this floor has G2G and it won’t BRB.
Fair warning - this is not a lazy person’s DIY project. You can maybe get it done in a weekend if you’re dedicated, well prepared, and great at decision making. I am not. It took me a long time. But the results are totalllly worth it.
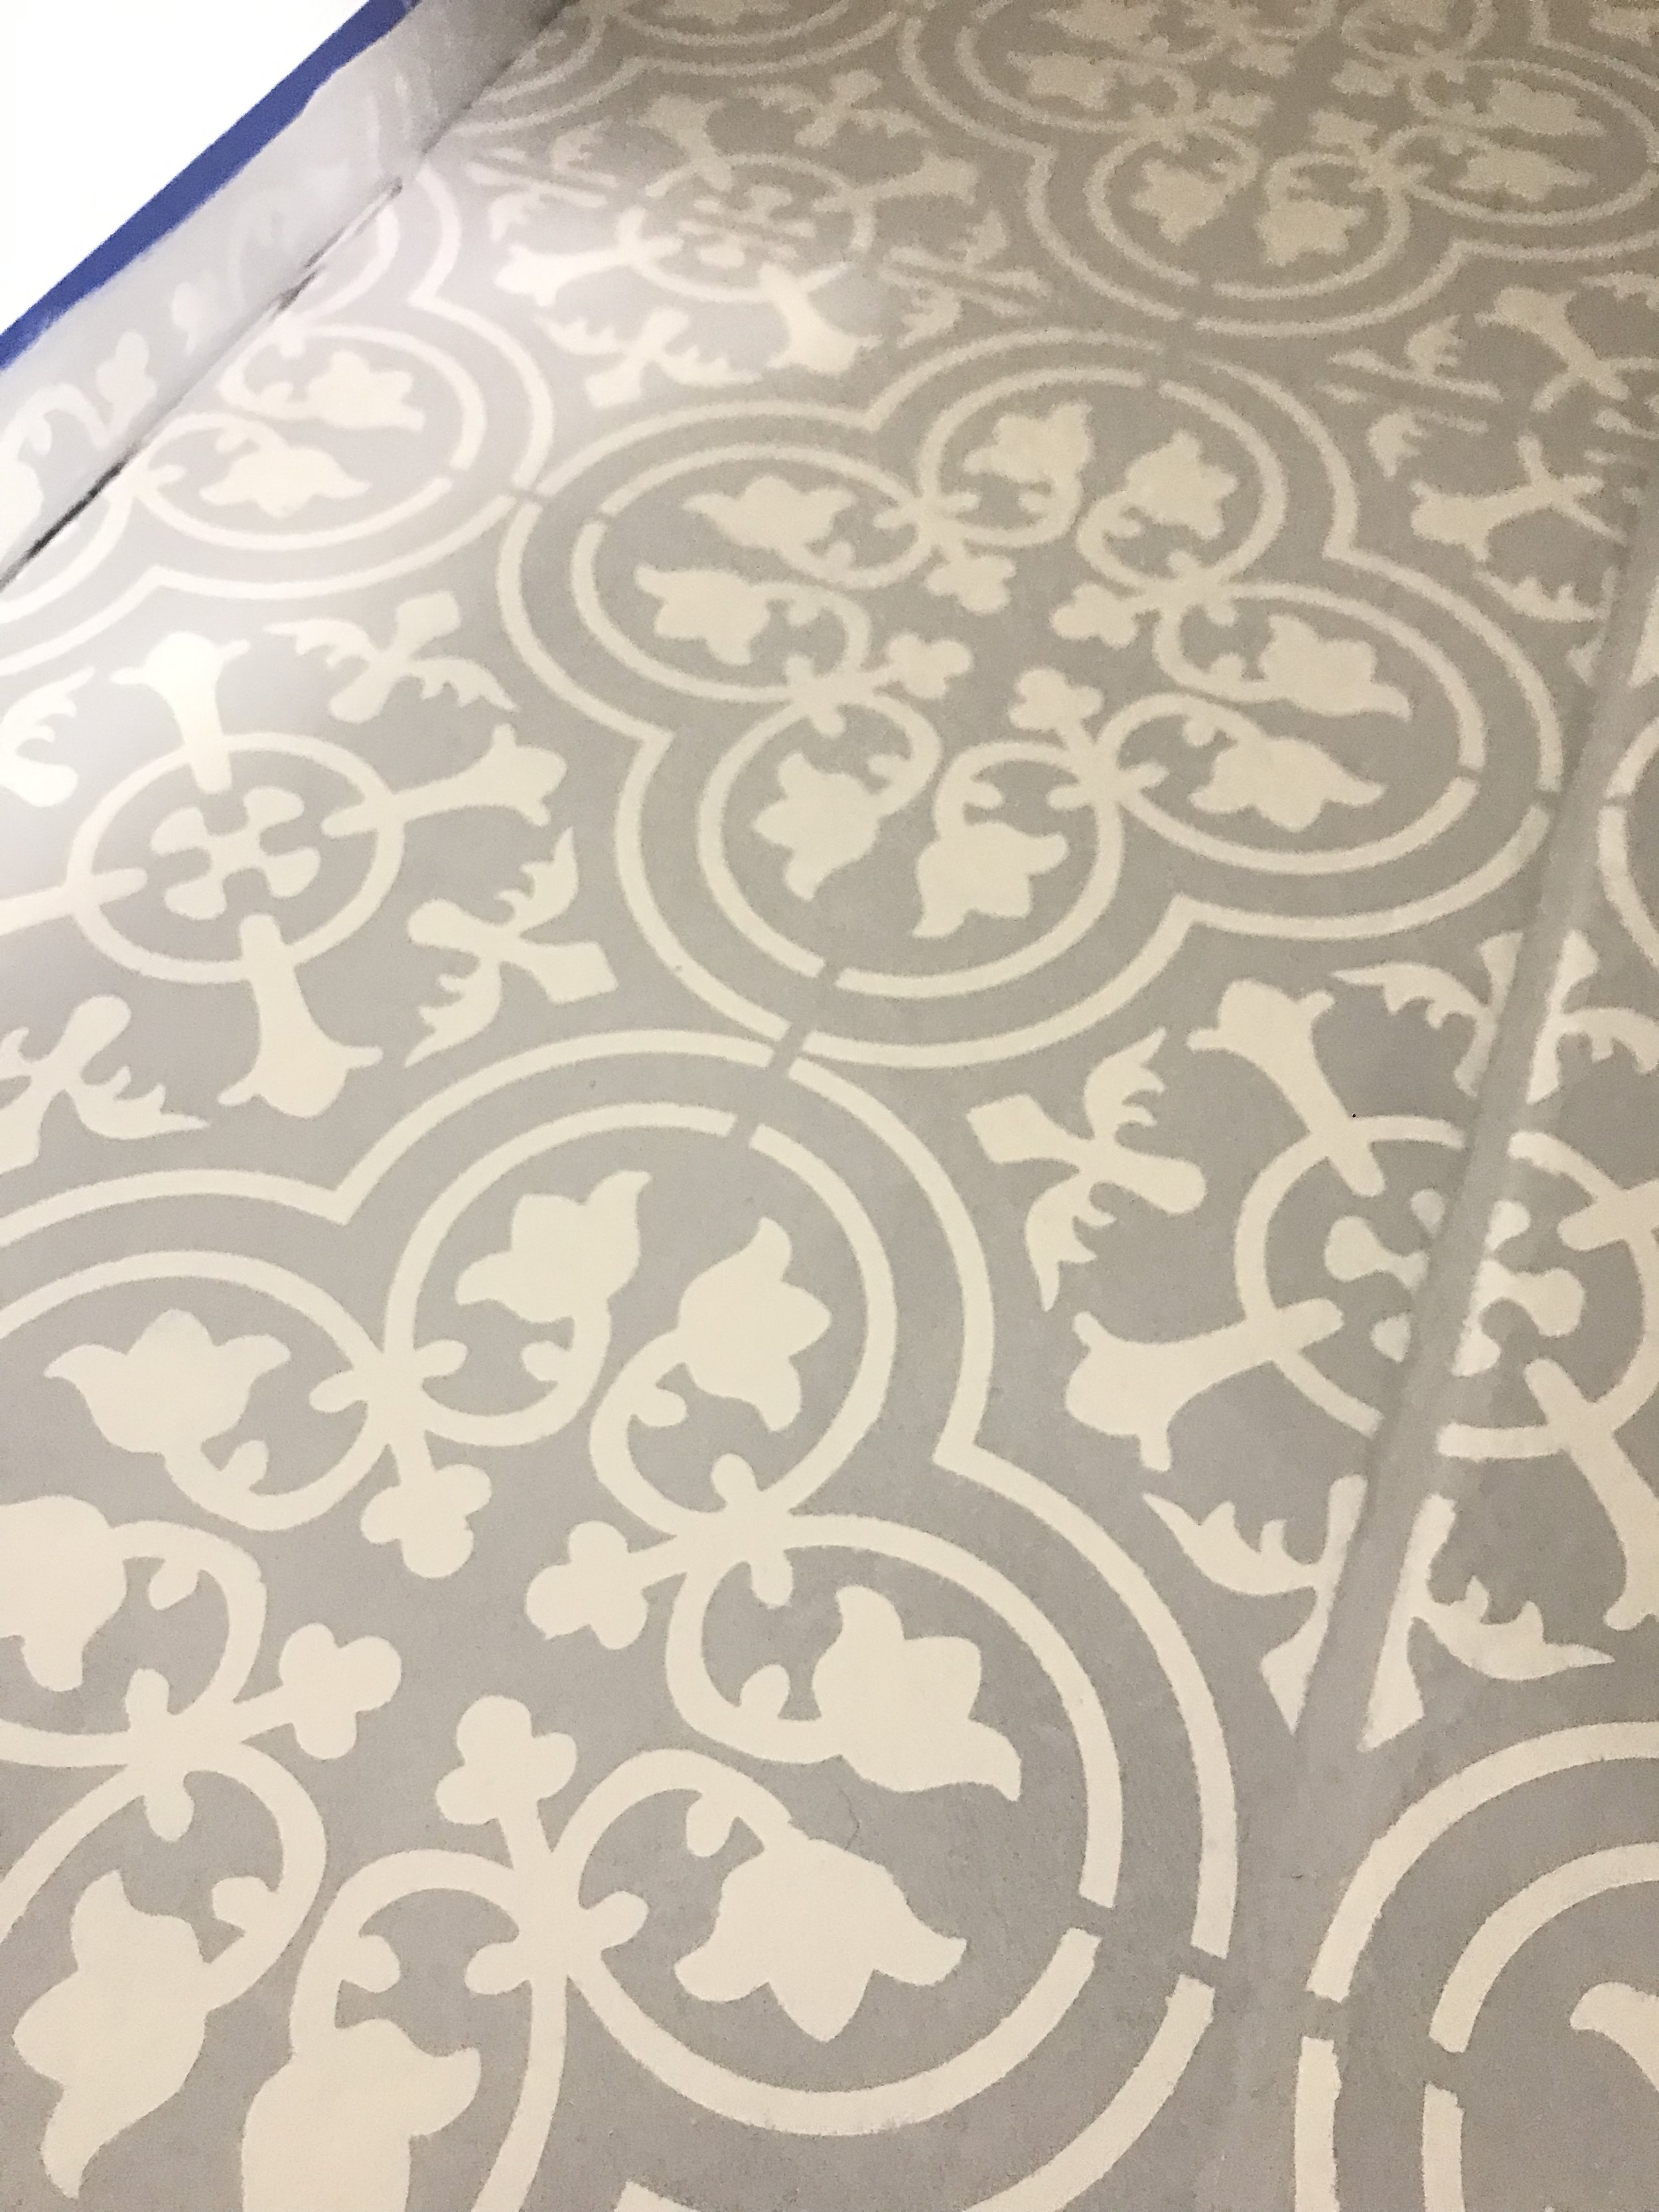
Look at how crisp those lines are!!
Using vinyl stencils helps save you from any paint bleeds that may occur with textured tile & reusable stencils!!
SUPPLIES:
TSP cleaner
Tape
Foam roller
High quality paint brush
Vinyl for Stencils & Transfer Tape
Adhesion primer
Base paint color (if not using white)
Stencil paint color (I recommend a chalk paint)
Waterbased Polyurethane Sealer in Clear Matte
Patience
First, we prep.
Sweep and mop your floors. Follow the instructions on the TSP container and scrub your floors and grout well, making sure it is free of all debris.
Tape off any areas you don’t want painted. Use extra tape, transfer tape, or a lint roller to roll over the entirety of the floor to get up all hairs and small dirt pieces left behind.
BE READY - you are gonna be cursing every single dog hair on your dog’s entire body by the time this is over.
why does this tape look like Squidward’s house?
Prime Time
Using your foam roller, roll on a thin, even layer of adhesion primer. Adhesion primer is meant to, you guessed it, increase paint adhesion. It’s worth the extra $5 to make sure your hard work lasts long term!
Be sure to start in the far corner of the room and paint yourself •out• of the room.
I did 3 coats of primer to ensure I had a completely primed surface to work off of.
I tried a few methods (and failed on some tbh), but I found the easiest way to cut in lines at the carpet edge was to use a quality brush and some patience. Tape won’t stick to carpet so really you’re on your own here!
Base Coat (skip if you’re using the white primer as your base coat)
For my base coat I opted to use a really light grey. Unfortunately, light grey is a chameleon color and probably the most challenging color I’ve ever dealt with as far as getting just the right shade.
After too many failures to admit to (kill me) I ended up custom mixing my own paint color.
My custom paint mix is a 2:1 ratio of Sherwin-Williams Mindful Grey and Rust-Oleum Aged Gray Chalk Paint.
When I ordered the mindful grey shade at Lowes I literally asked for “the cheapest flat paint you have” I didn’t even know this cheap contractor coat was an option. $16 a gallon! I used measuring cups and a reusable container I had on hand to mix the colors & got to painting.
If you decide to custom mix your paint make sure you have enough for three coats, or save some extra from each batch to mix into the new batch to ensure color matching.
That light grey paint color is perfection!! Using the same foam roller I ended up doing three coats of the base coat.
Now on to the fun part - vinyl stenciling.
Ideally your tiles will be 12” wide or smaller. Mine are 16”x16”. I wanted a seamless grout line so I opted to cut & weed enough vinyl stencils to cover each full size tile on all sides.
Once you’ve found the design you want, create the cut file in your silhouette or cricut design software.
Make sure your cut file lines up so the design reaches the edge of the tile. A lot of the designs will include a natural border that may change the overall measurement of the cut file.
Figure our how many vinyl stencils you need by counting the number of tiles. Some of your tiles may be incomplete and you can cut the vinyl stencils in half to use one stencil twice.
I needed A LOT of vinyl so I opted to order this 40ft roll off of Amazon.
https://www.amazon.com/dp/B07C7S3TSM/ref=cm_sw_r_cp_api_i_cesVCbN9M68D0
After you’ve cut and weeded your vinyl stencils you’ll need to use transfer tape. I recommend buying the Clear Magic Cover drawer liner from the Dollar Tree or your local dollar store. Fun fact: you can order a case of it for $16 on the Dollar Tree website! ps - it works great for picking up those dog hairs, too. Which is what we are doing next.
After you pick up dog hairs again we move on to laying our freshly cut vinyl stencils.
I started in the far corner of the bathroom. Use the transfer tape to line up your vinyl stencil and set it in place. Use your burnishing tool or hand to smooth it out and adhere it to the tile. Remember that these stencils are temporary use so you don’t want to use the absolute best vinyl that won’t want to come up later on!
If you’re stenciling your bathroom tile, there’s a good chance you’ll have a lot of weird shapes and places to fill in. Use a box cutter or scissors to cut the vinyl stencils to size to fit these weird spots.
I recommend using the scrap from vinyl stencils you’ve trimmed to size to help reduce waste (and extra work).
Your vinyl stencils can wrap up the sides after their trimmed. This little overlap isn’t necessary, but it seemed to help me make sure I didn’t cut the stencil too small.
Definitely one of the benefits of vinyl stencils over a traditional reusable stencil is the ability to manipulate the stencil to fit any size space along your tile floor, including the weird curves of your toilet.
Another major benefit is getting to see what the pattern looks like in the room.
Make sure you don’t have gaps between your stencils & if you do, cover them with extra vinyl or make a mental note of where *not* to paint.
Now we paint! Again.
I decided to use Dixie Belle Dropcloth for the design. I knew I wanted to use a chalk paint for a few reasons - mainly because chalk paint is far less likely to bleed under the vinyl stencil than any other type of paint. Trust me on this. Secondly, because it dries really fast and I wanted to do two quick coats and get to weeding that vinyl again.
Using a foam roller, apply a small amount of paint and roll any paint gunk off on a paper plate or paper towel.
Starting back in the corner, roll on a thin layer of chalk paint over the vinyl stencils. The thinner the layer the less likely the paint will bleed and the faster each layer will dry.
Every 4 tiles or so I went back and did a second coat over the last 4 tiles. I did a total of 2 coats of the chalk paint over the stencils. you can see the first vs second coats above.
Once you’ve double coat painted yourself out of the room you’ll be looking at this kinda mess. But the VOILA moment is coming, so hang tight.
Now we peel that sh!t up!
Here’s a time lapse video of this process. I used a circut weeding tool and spatula. And some patience. Oh. The patience.
But wasn’t that just sooo satisfying?!
In the video I’m peeling away all of the vinyl stencils I meticulously laid down. I’m not going to lie, this part took me a couple hours. But the finished product is nearly perfect lines that look like REAL tile and not a botched paint job.
Seal it!
Using a high quality brush, apply even, thin layers of polyurethane. I did three full coats since this is, after all, a bathroom and will see a bit of water over time! Do not use a roller or you will get bubbles.
While sealing you’ll have a final chance to get up any missed vinyl and again... those dog hairs. Leave no hairs behind!!


