Upholstering a Wooden Rocking Chair
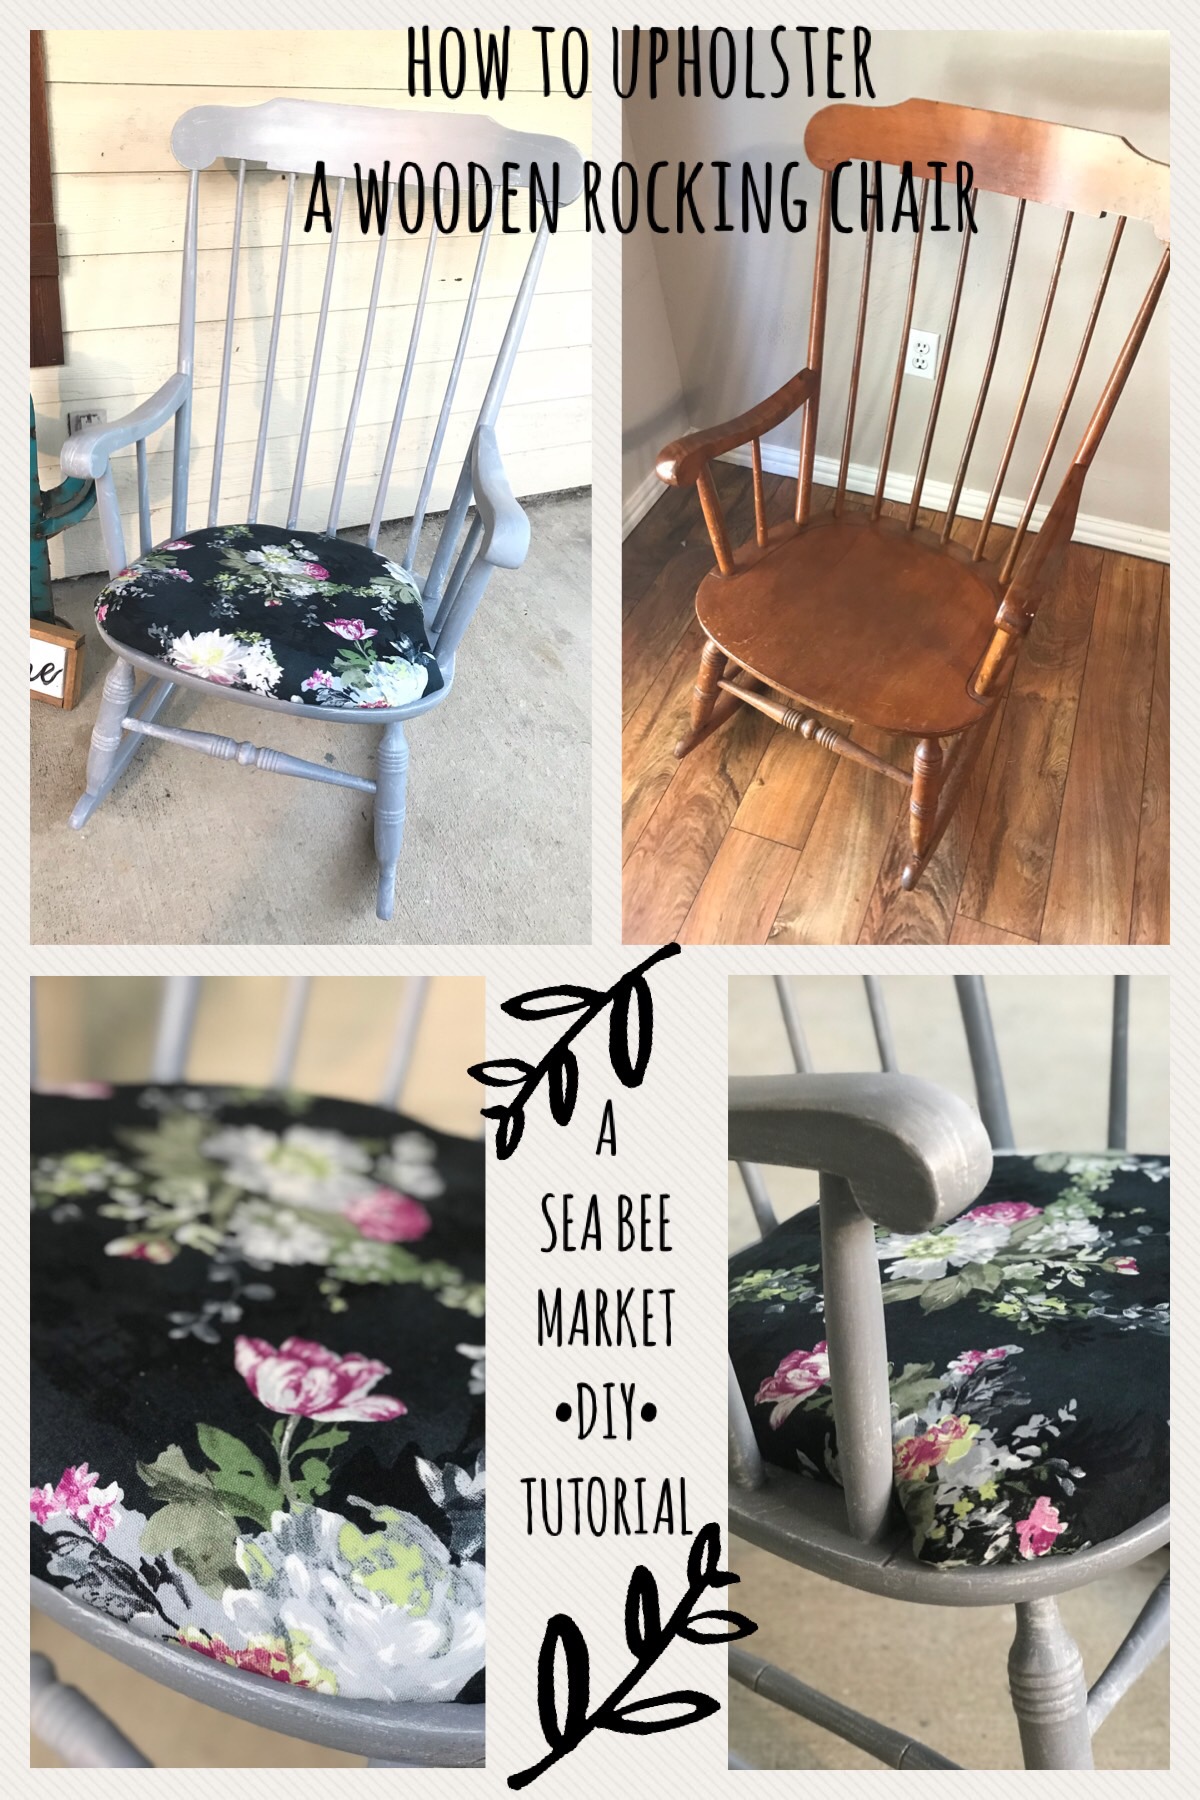
A while back I came across the cutest wooden rocking chair find at a garage sale - & scored it for just 10 bucks! I wasn’t 100% sure what my plan for this piece was... all I knew was I had to have it.

It had great bones & needed NO structural help! YAS!
At some point I decided I wanted to upholster this bad mammajamma and set out to do just that. I mean, who doesn’t want the world’s cutest rocking chair? Upholstery isn’t really my “thing” - but what the heck!
Since the chair was not previously upholstered, I needed to create a base for the fabric and cushiony bum supporting goodness. Specifically one that matched the natural lines of the rocking chair and didn’t come across as a shotty novice (me) add on.
Read on if you’re interested in following this tutorial. Supply list is at the very bottom for your reference!
Let’s get started!
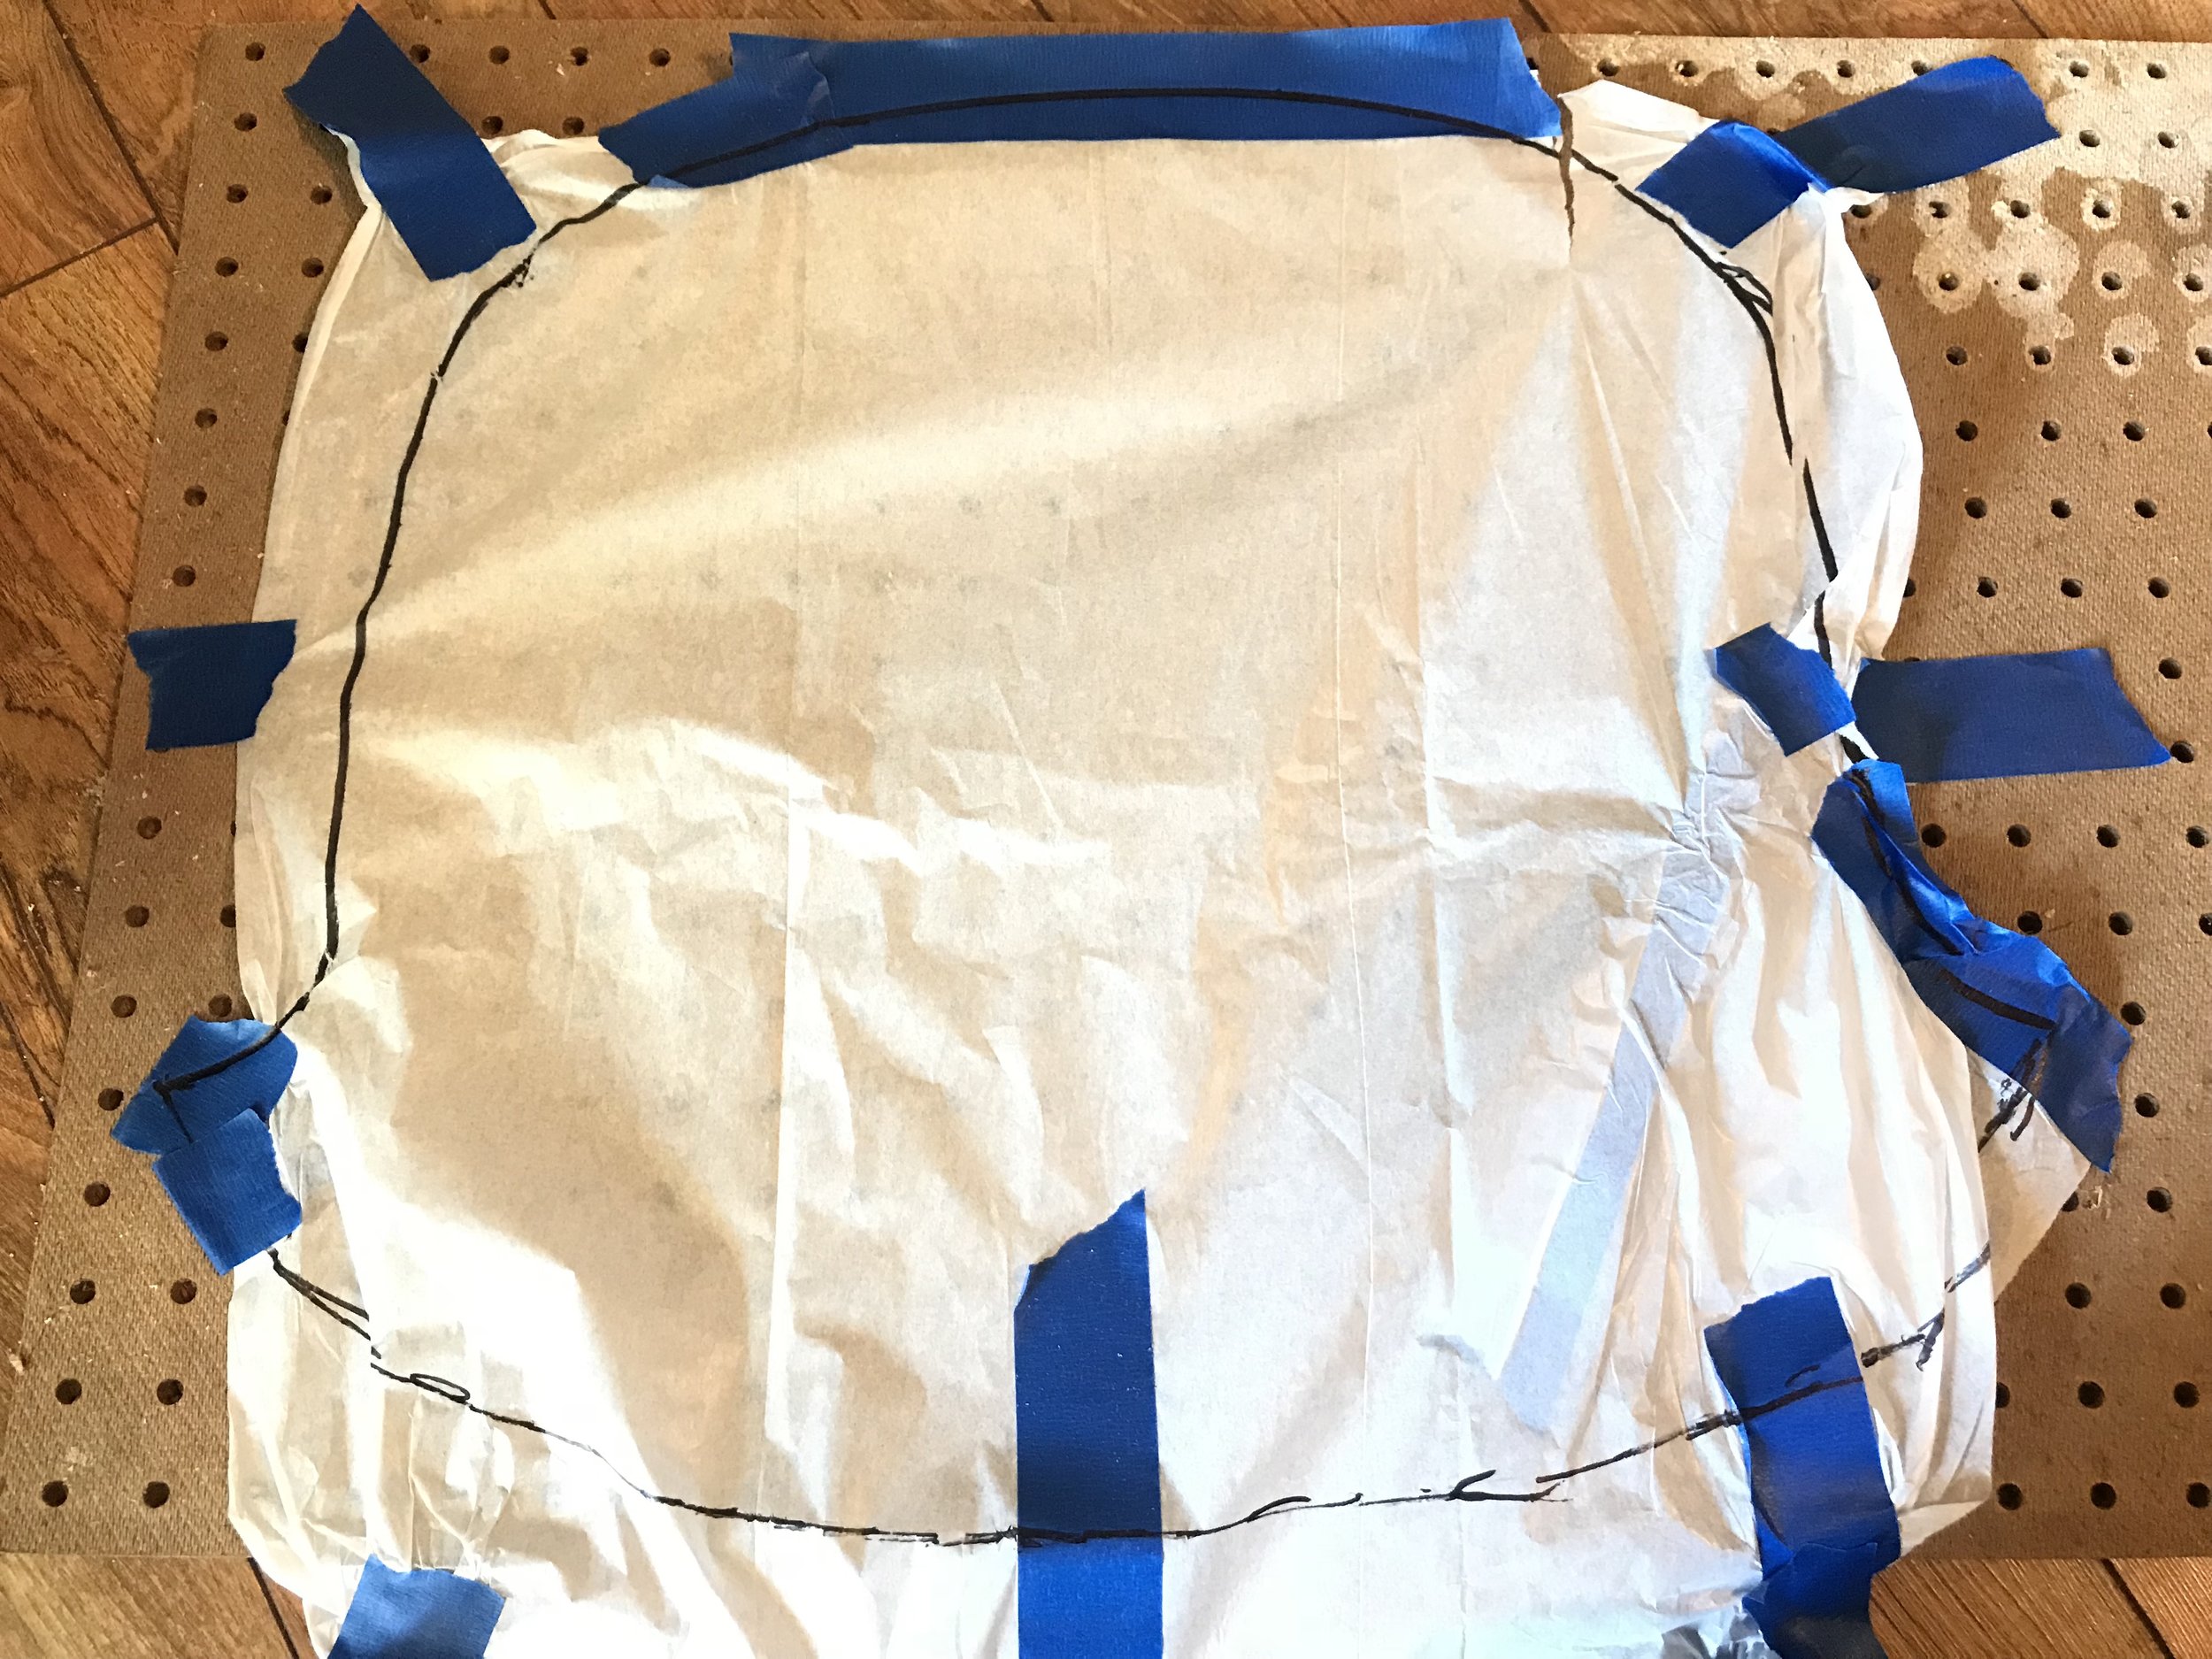
To trace out the true shape of the rocking chair bottom, tape down a piece of tissue paper and use a permanent marker to get a rough sketch of the shape. The lines won’t be perfect, but that’s okay - neither am I, but I’m doing JUST FINE OKAY?! I digress. Just trying to get a good idea of the overall shape before cutting the wood to make the upholstery base.
Next
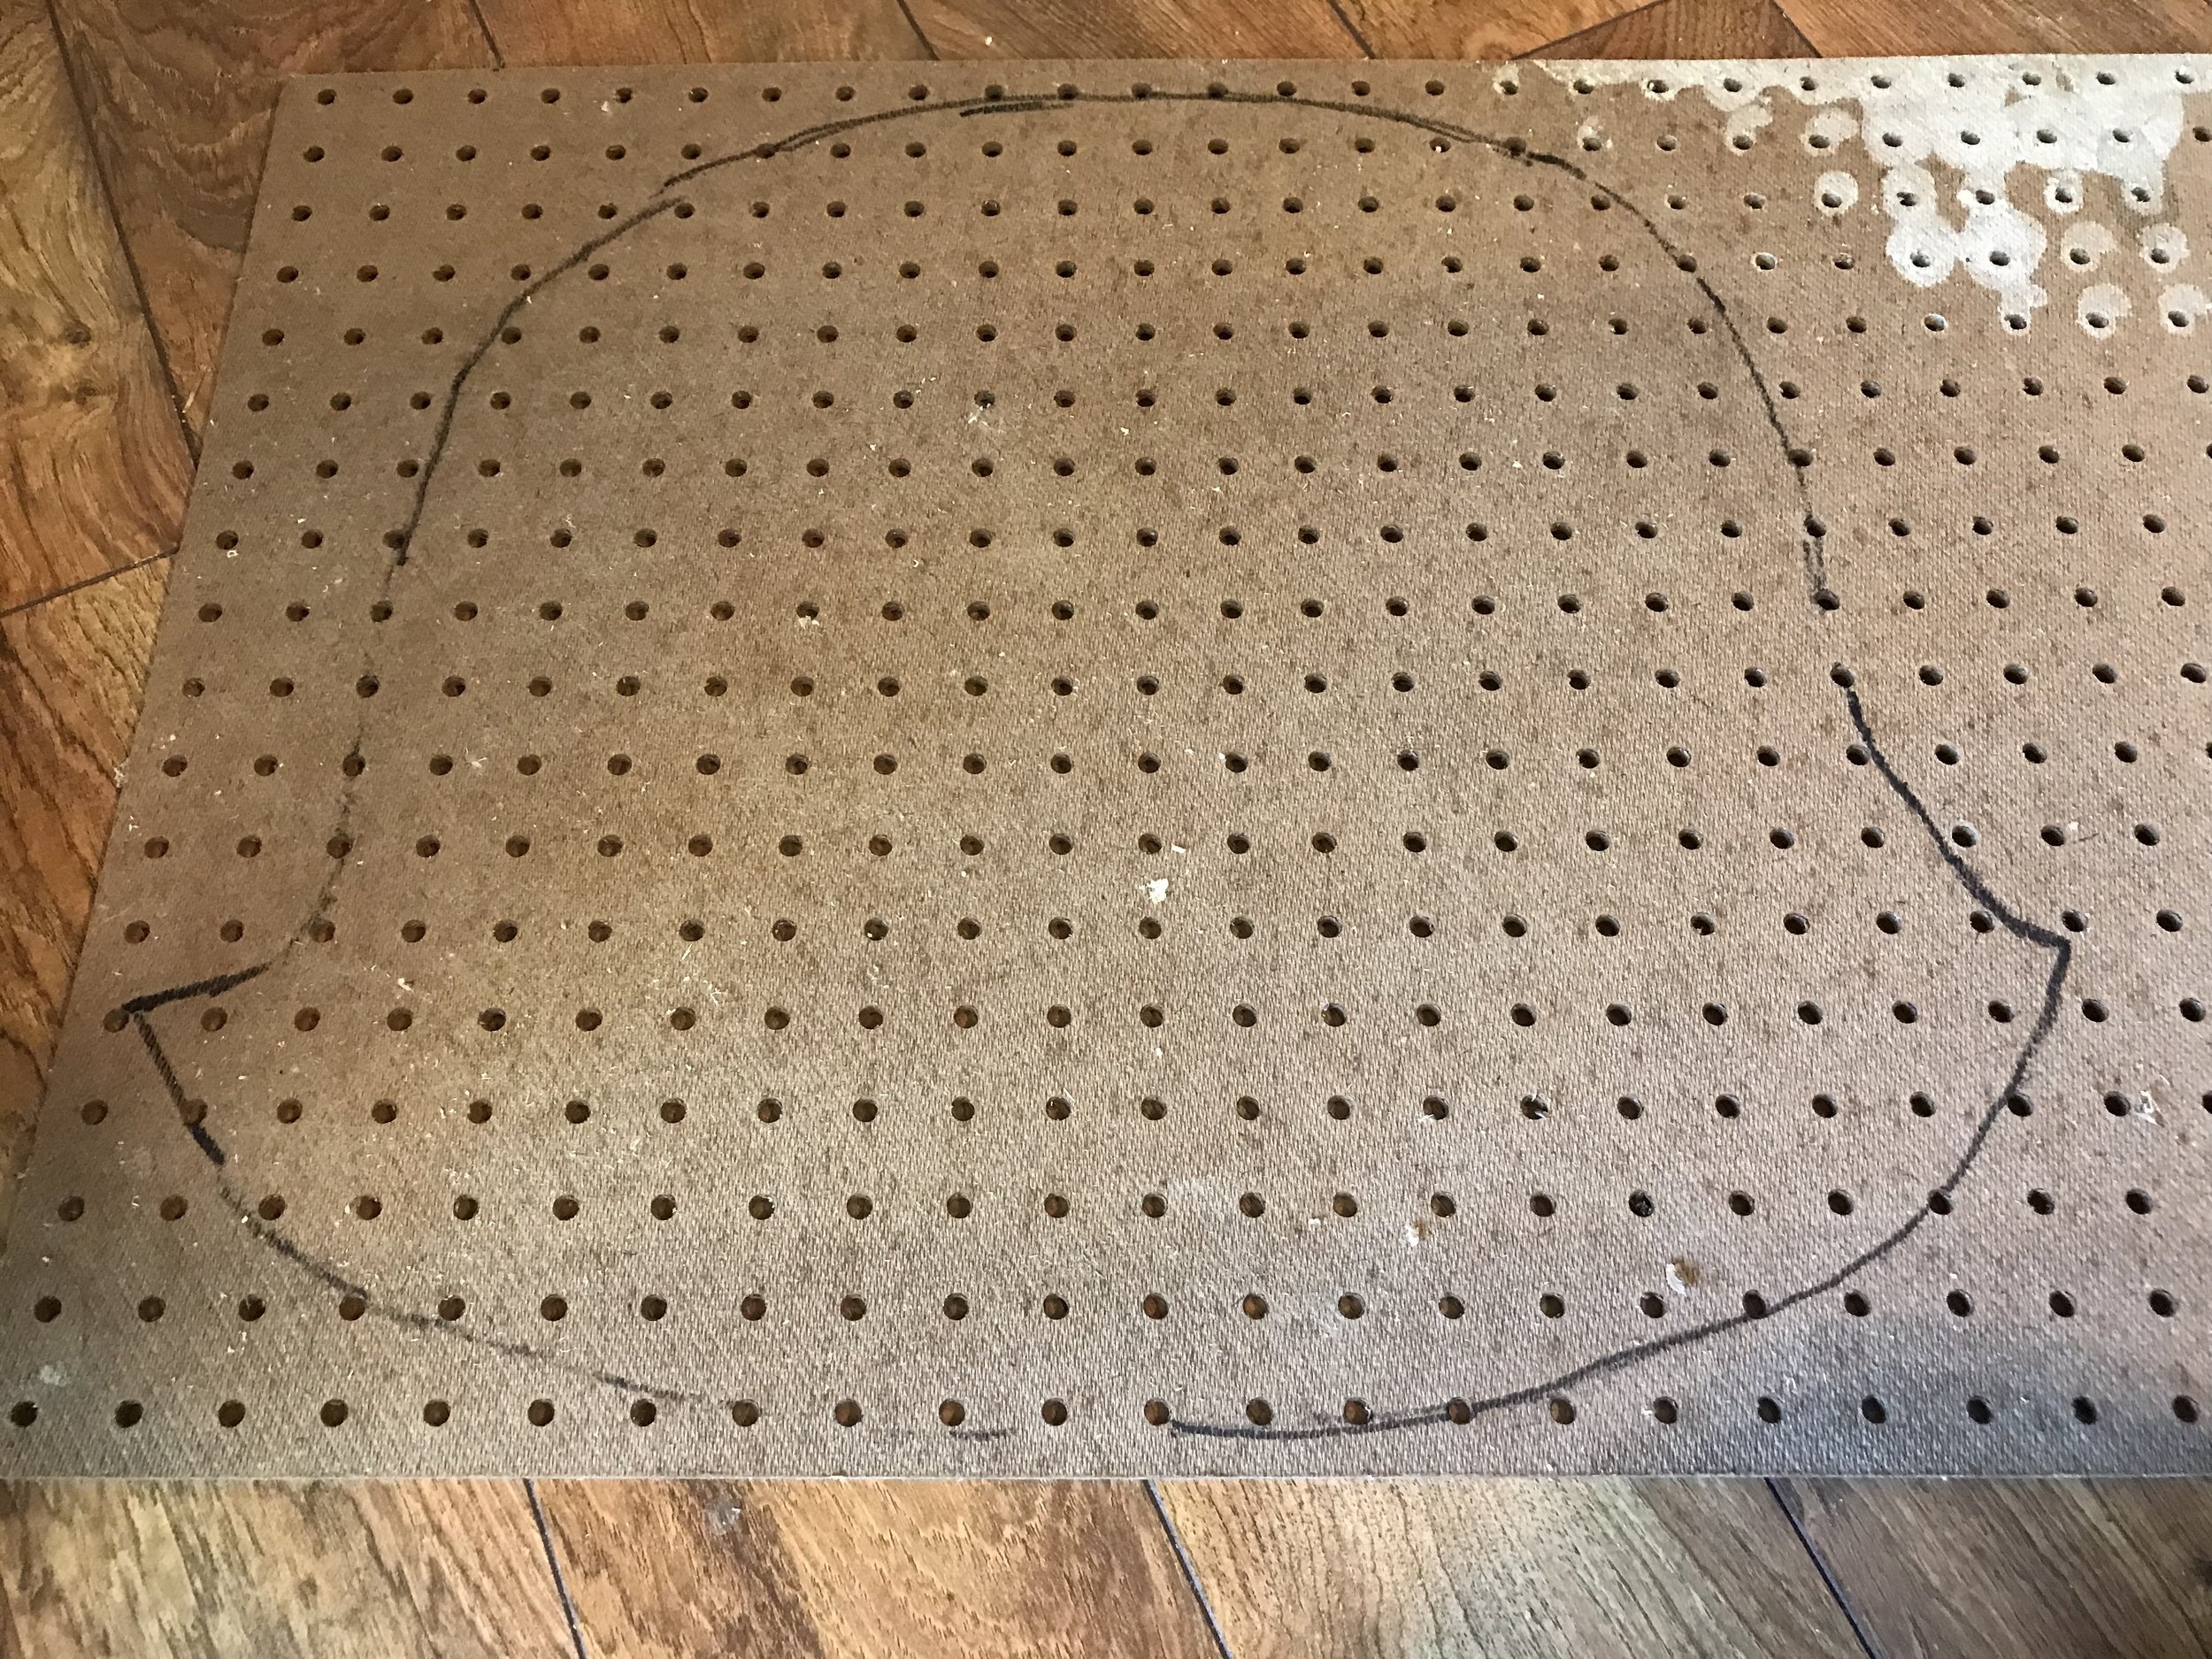
I transferred the tissue paper to a piece of scrap pegboard I had. You can definitely use any thin plywood or MDF. I used what I had on hand and didn’t mind “wasting”. Gotta save that money honey!
Use the trace lines as a guide to transfer the outline on to your scrap plywood.
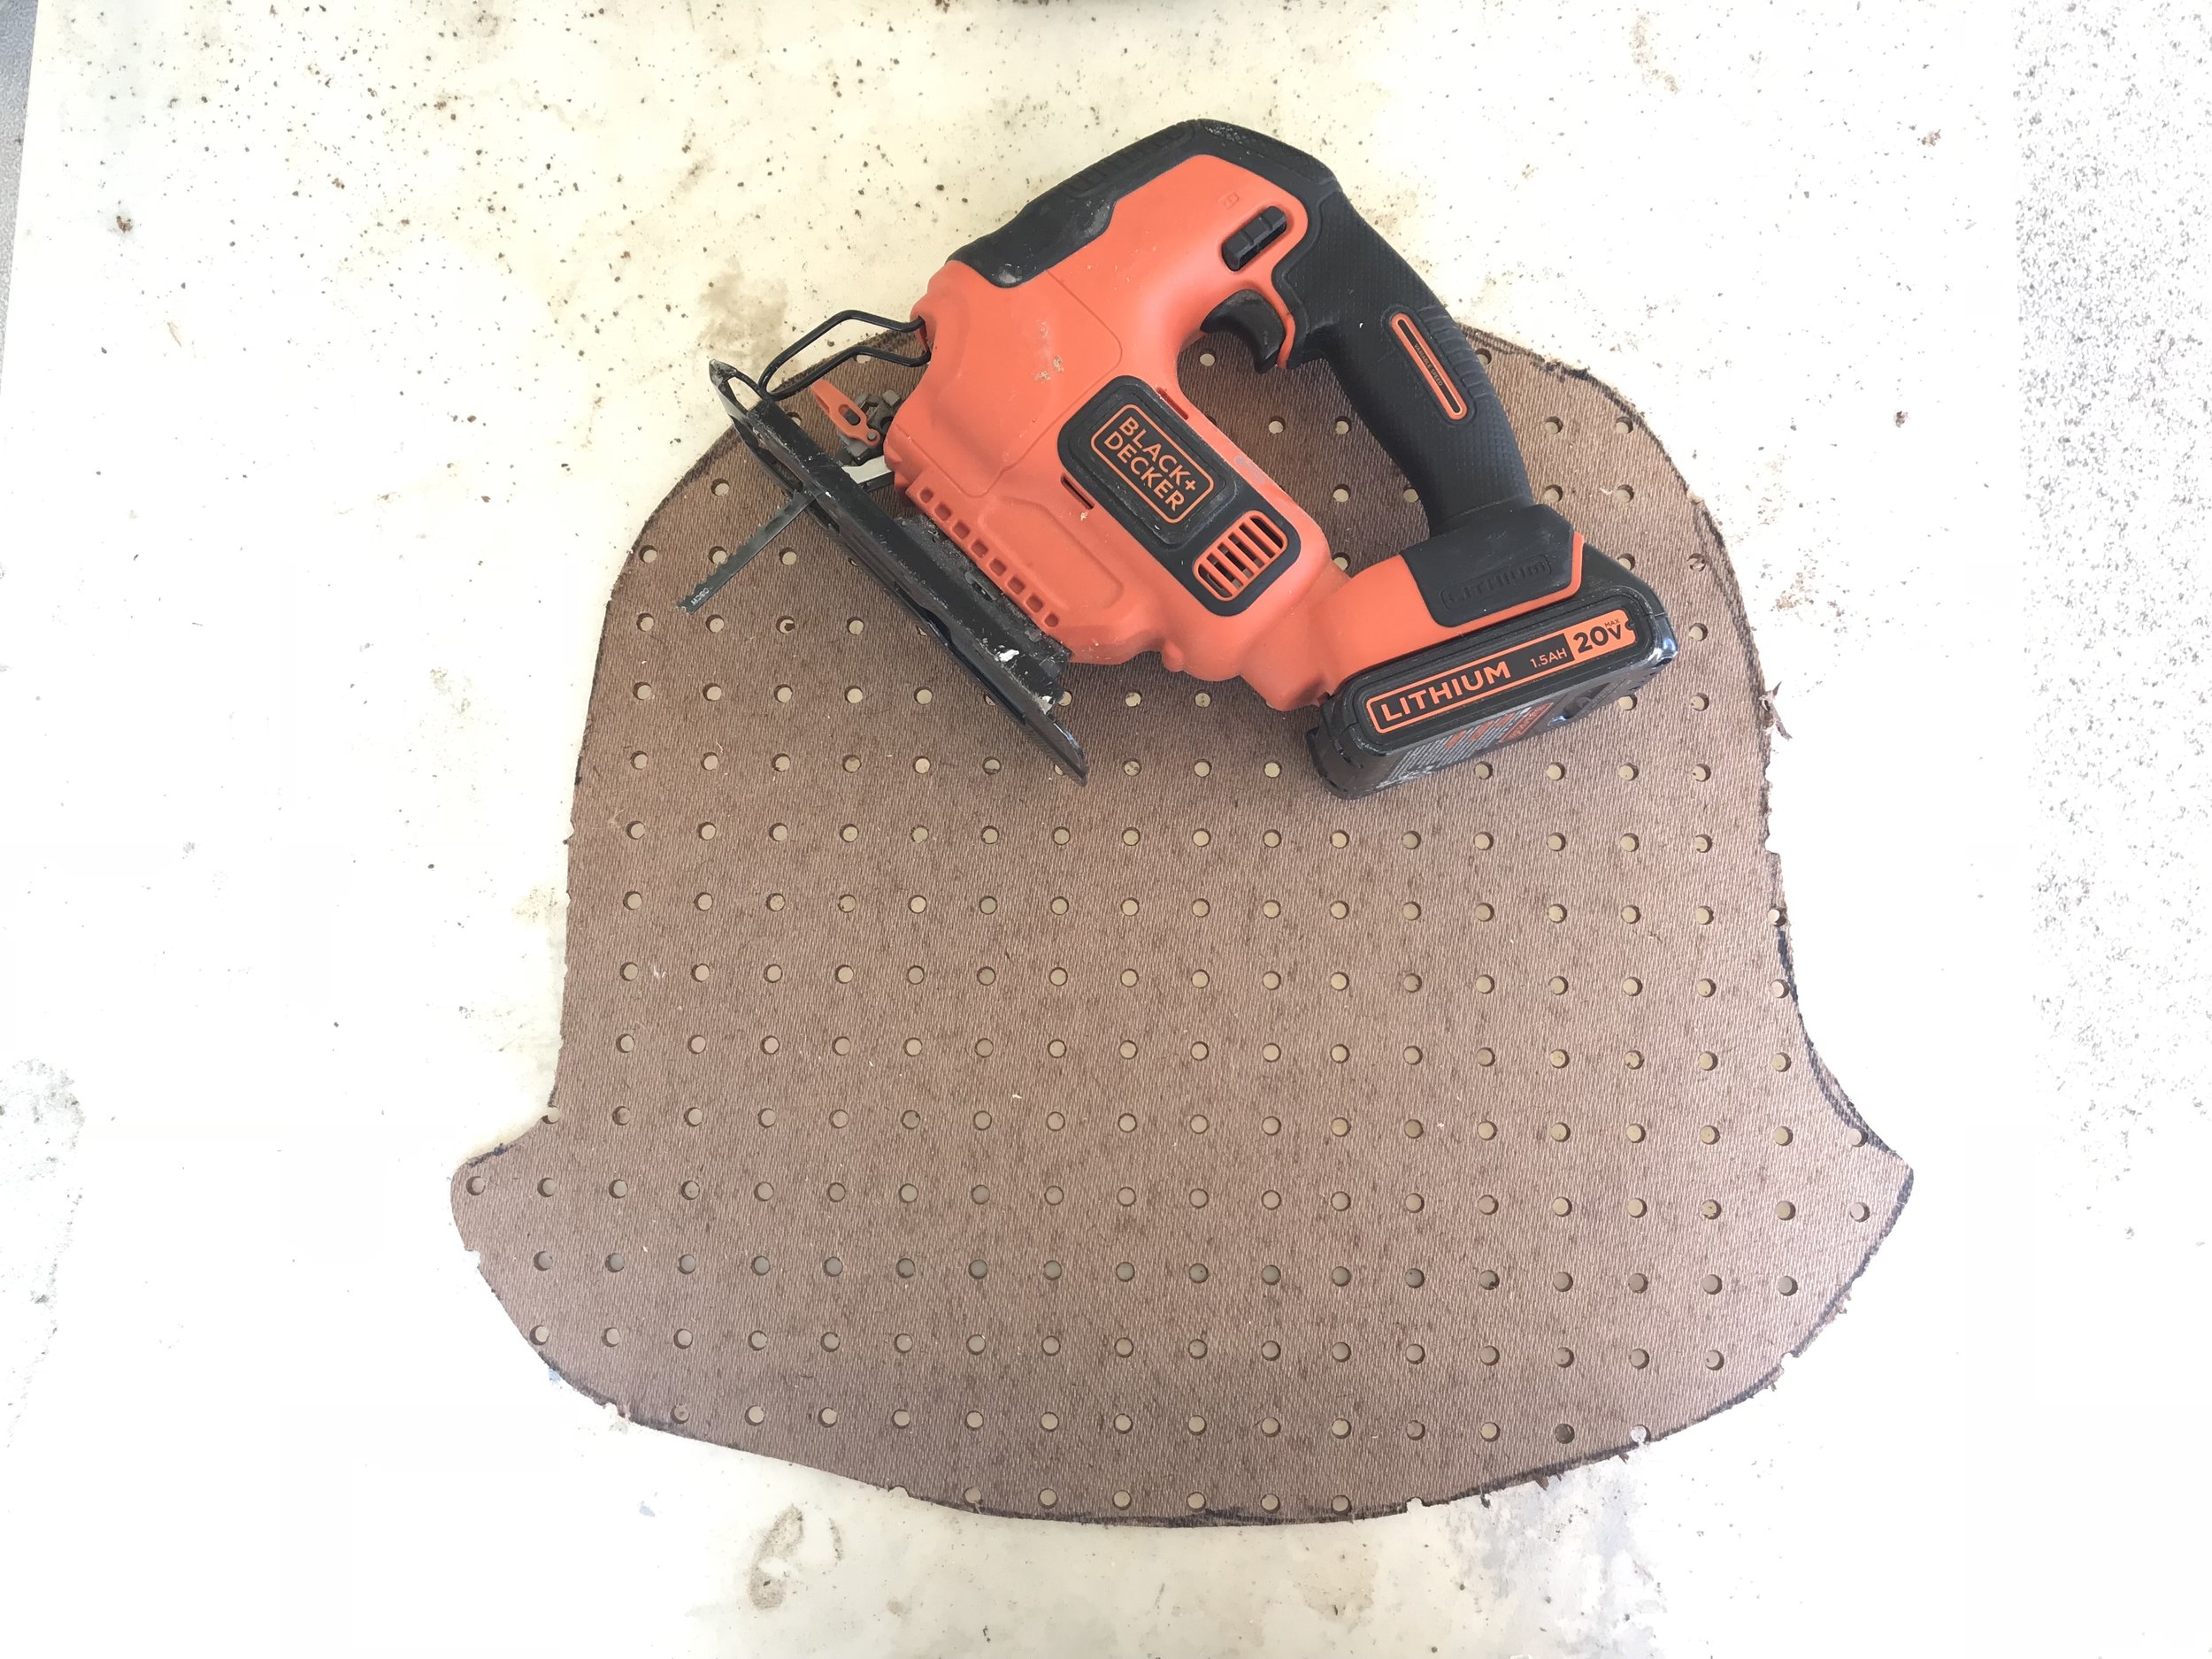
Use a jig saw or scroll saw to cut along your trace lines, creating a thin replica of the seat base
Lightly sand any sharp edges and round out any issues on the cut piece.
Size up your newly cut upholstery base with your rocking chair and give it a visual once over for any major issues.
As you can see, my cut lines aren’t perfect, but it’s totally fine! The end result won’t even show these minor imperfections!
Are you noticing a theme here?? Lots of tracing & cutting & tracing & cutting!
Trace the outline of your newly cut upholstery base on to your 2” thick foam cushion.
Using an exacto knife, cut the shape of the seat out of the foam
Place it on the rocking chair to size it up and check for any major issues.
Now to start the actual upholstering process!
Measure out and trim down the batting material - leave plenty of overlap
Flip the wood cut rocking chair base with foam insert bottom side up
Start by pulling one section of the batting material tight against the bottom of the base
Using a staple gun, staple along the edge of the wood chair base about every half inch
Continue to pull the batting tight along the edge as you work your way around the entire rocking chair cut base. Periodically turn the piece over to check for any wrinkles in the batting fabric.
Once you have the batting in place, trim the excess fabric off and get ready to add the beautiful fabric you chose!
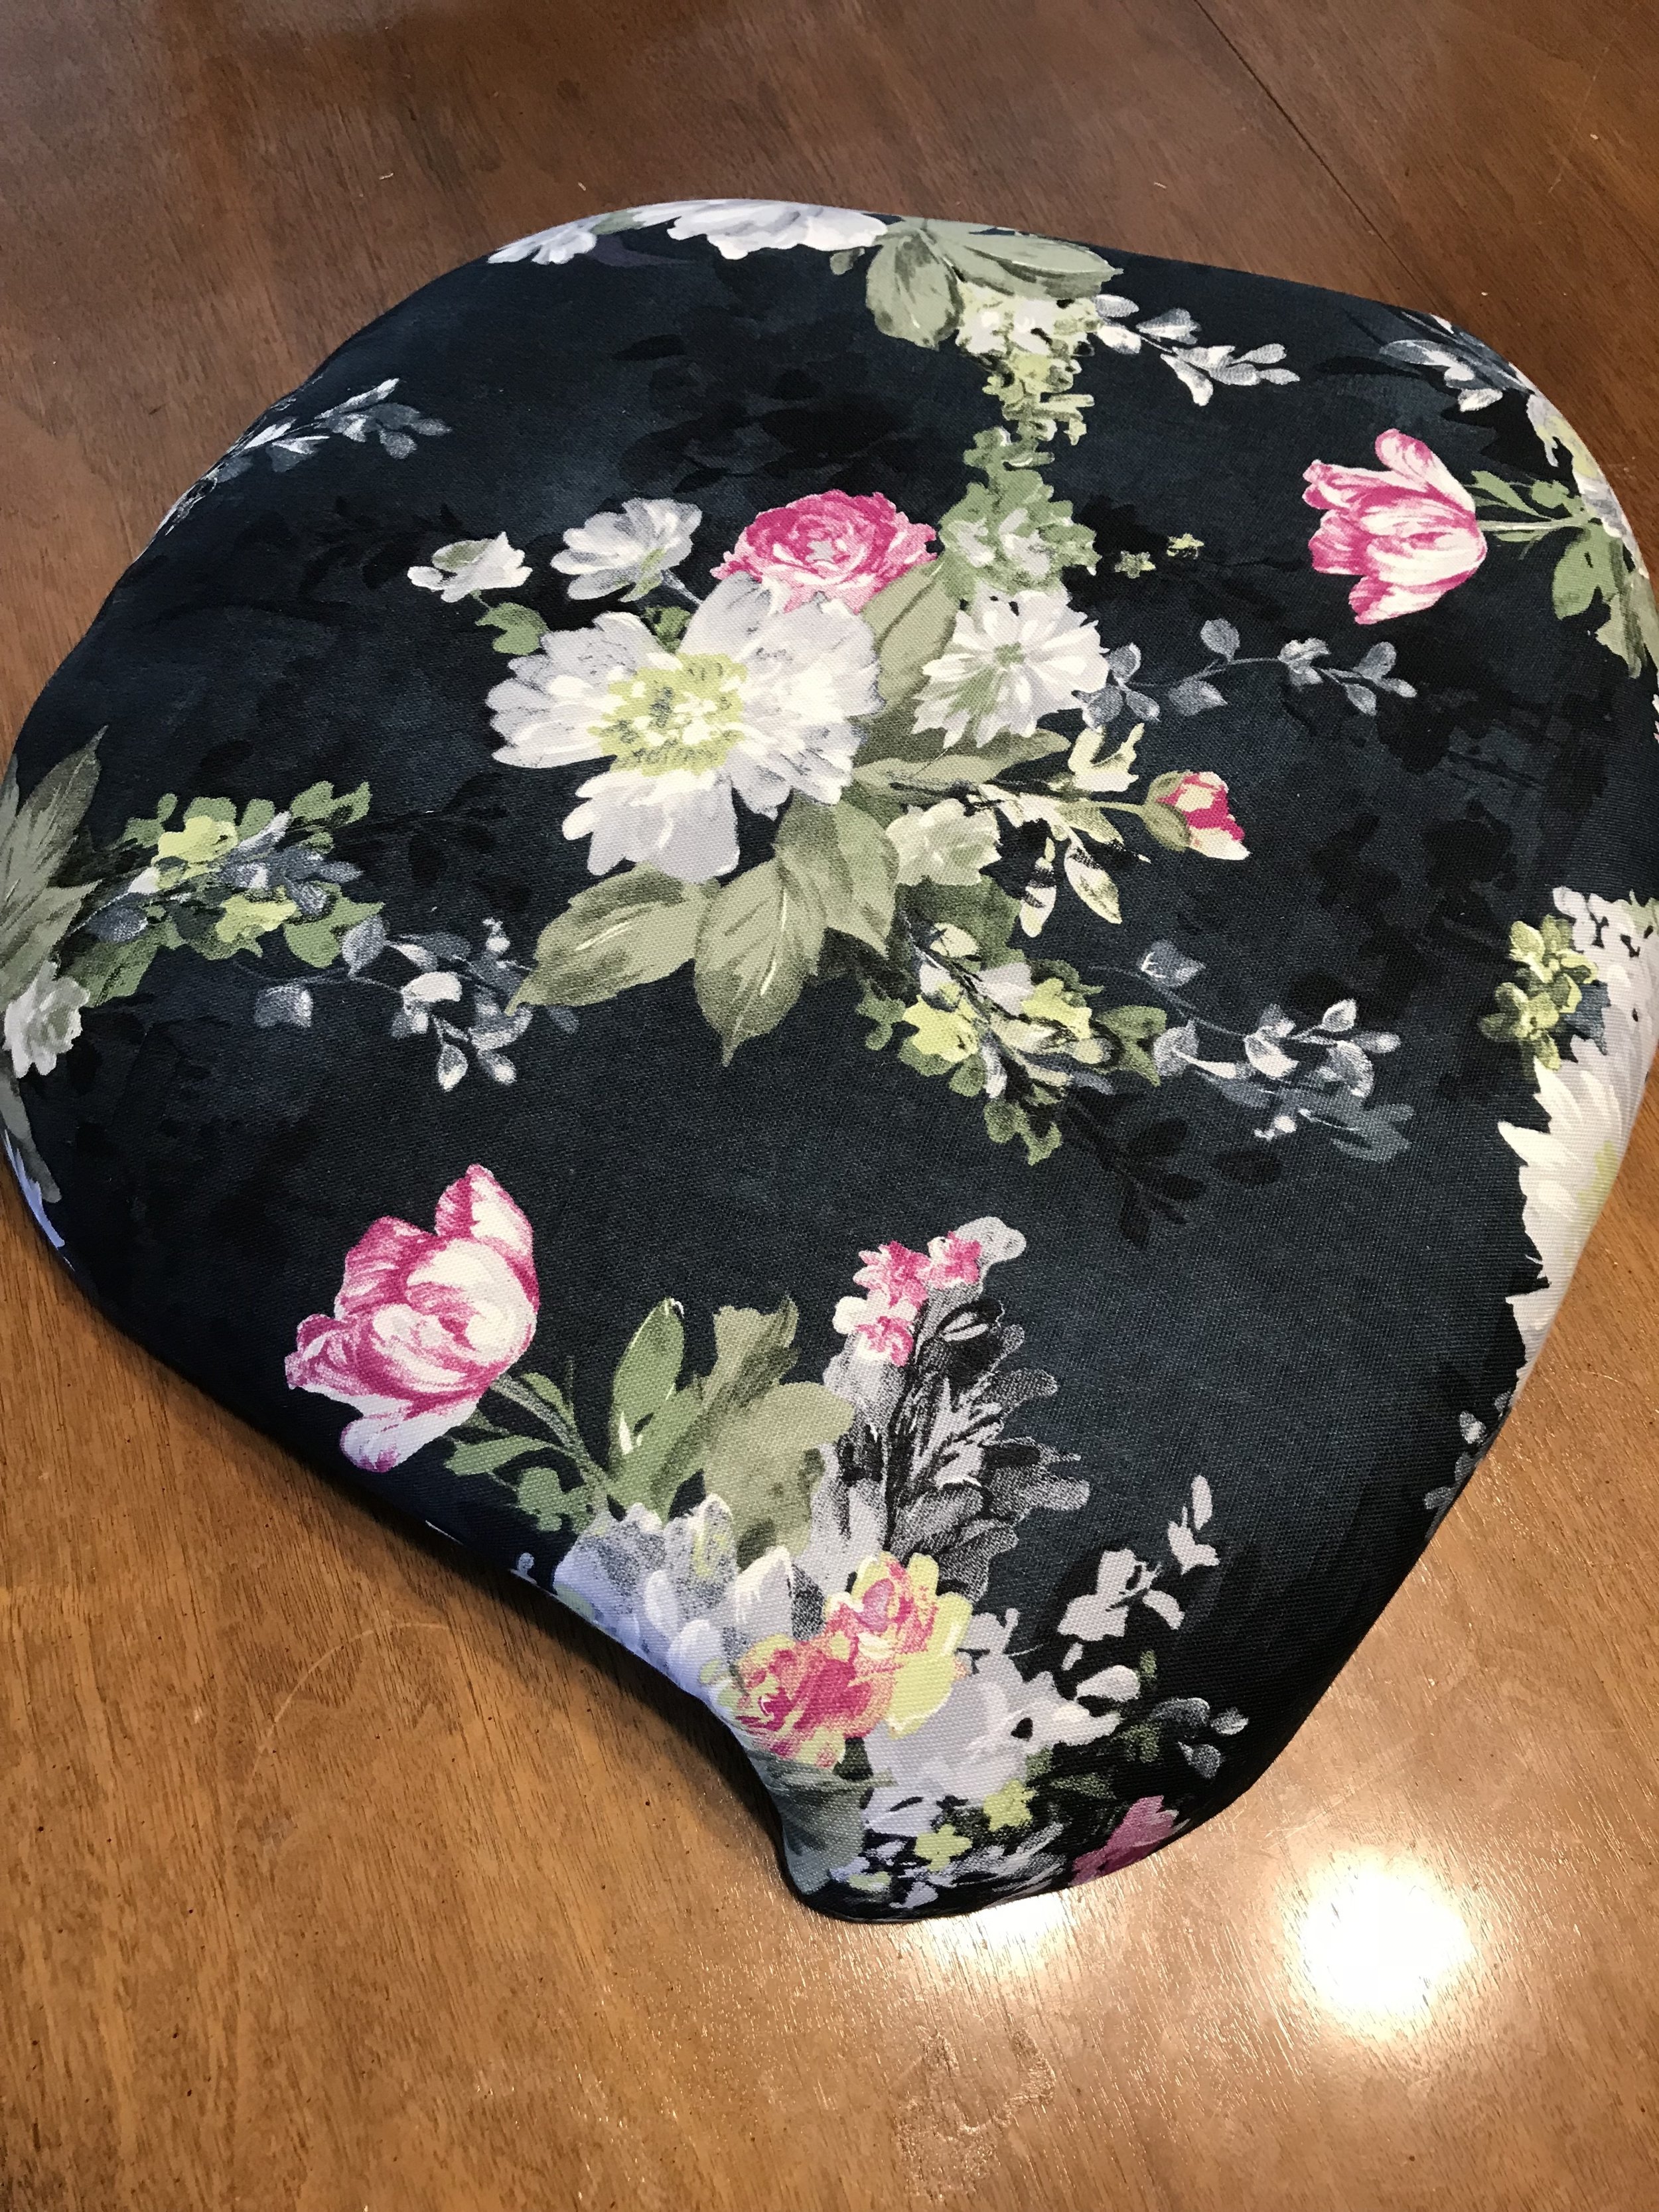
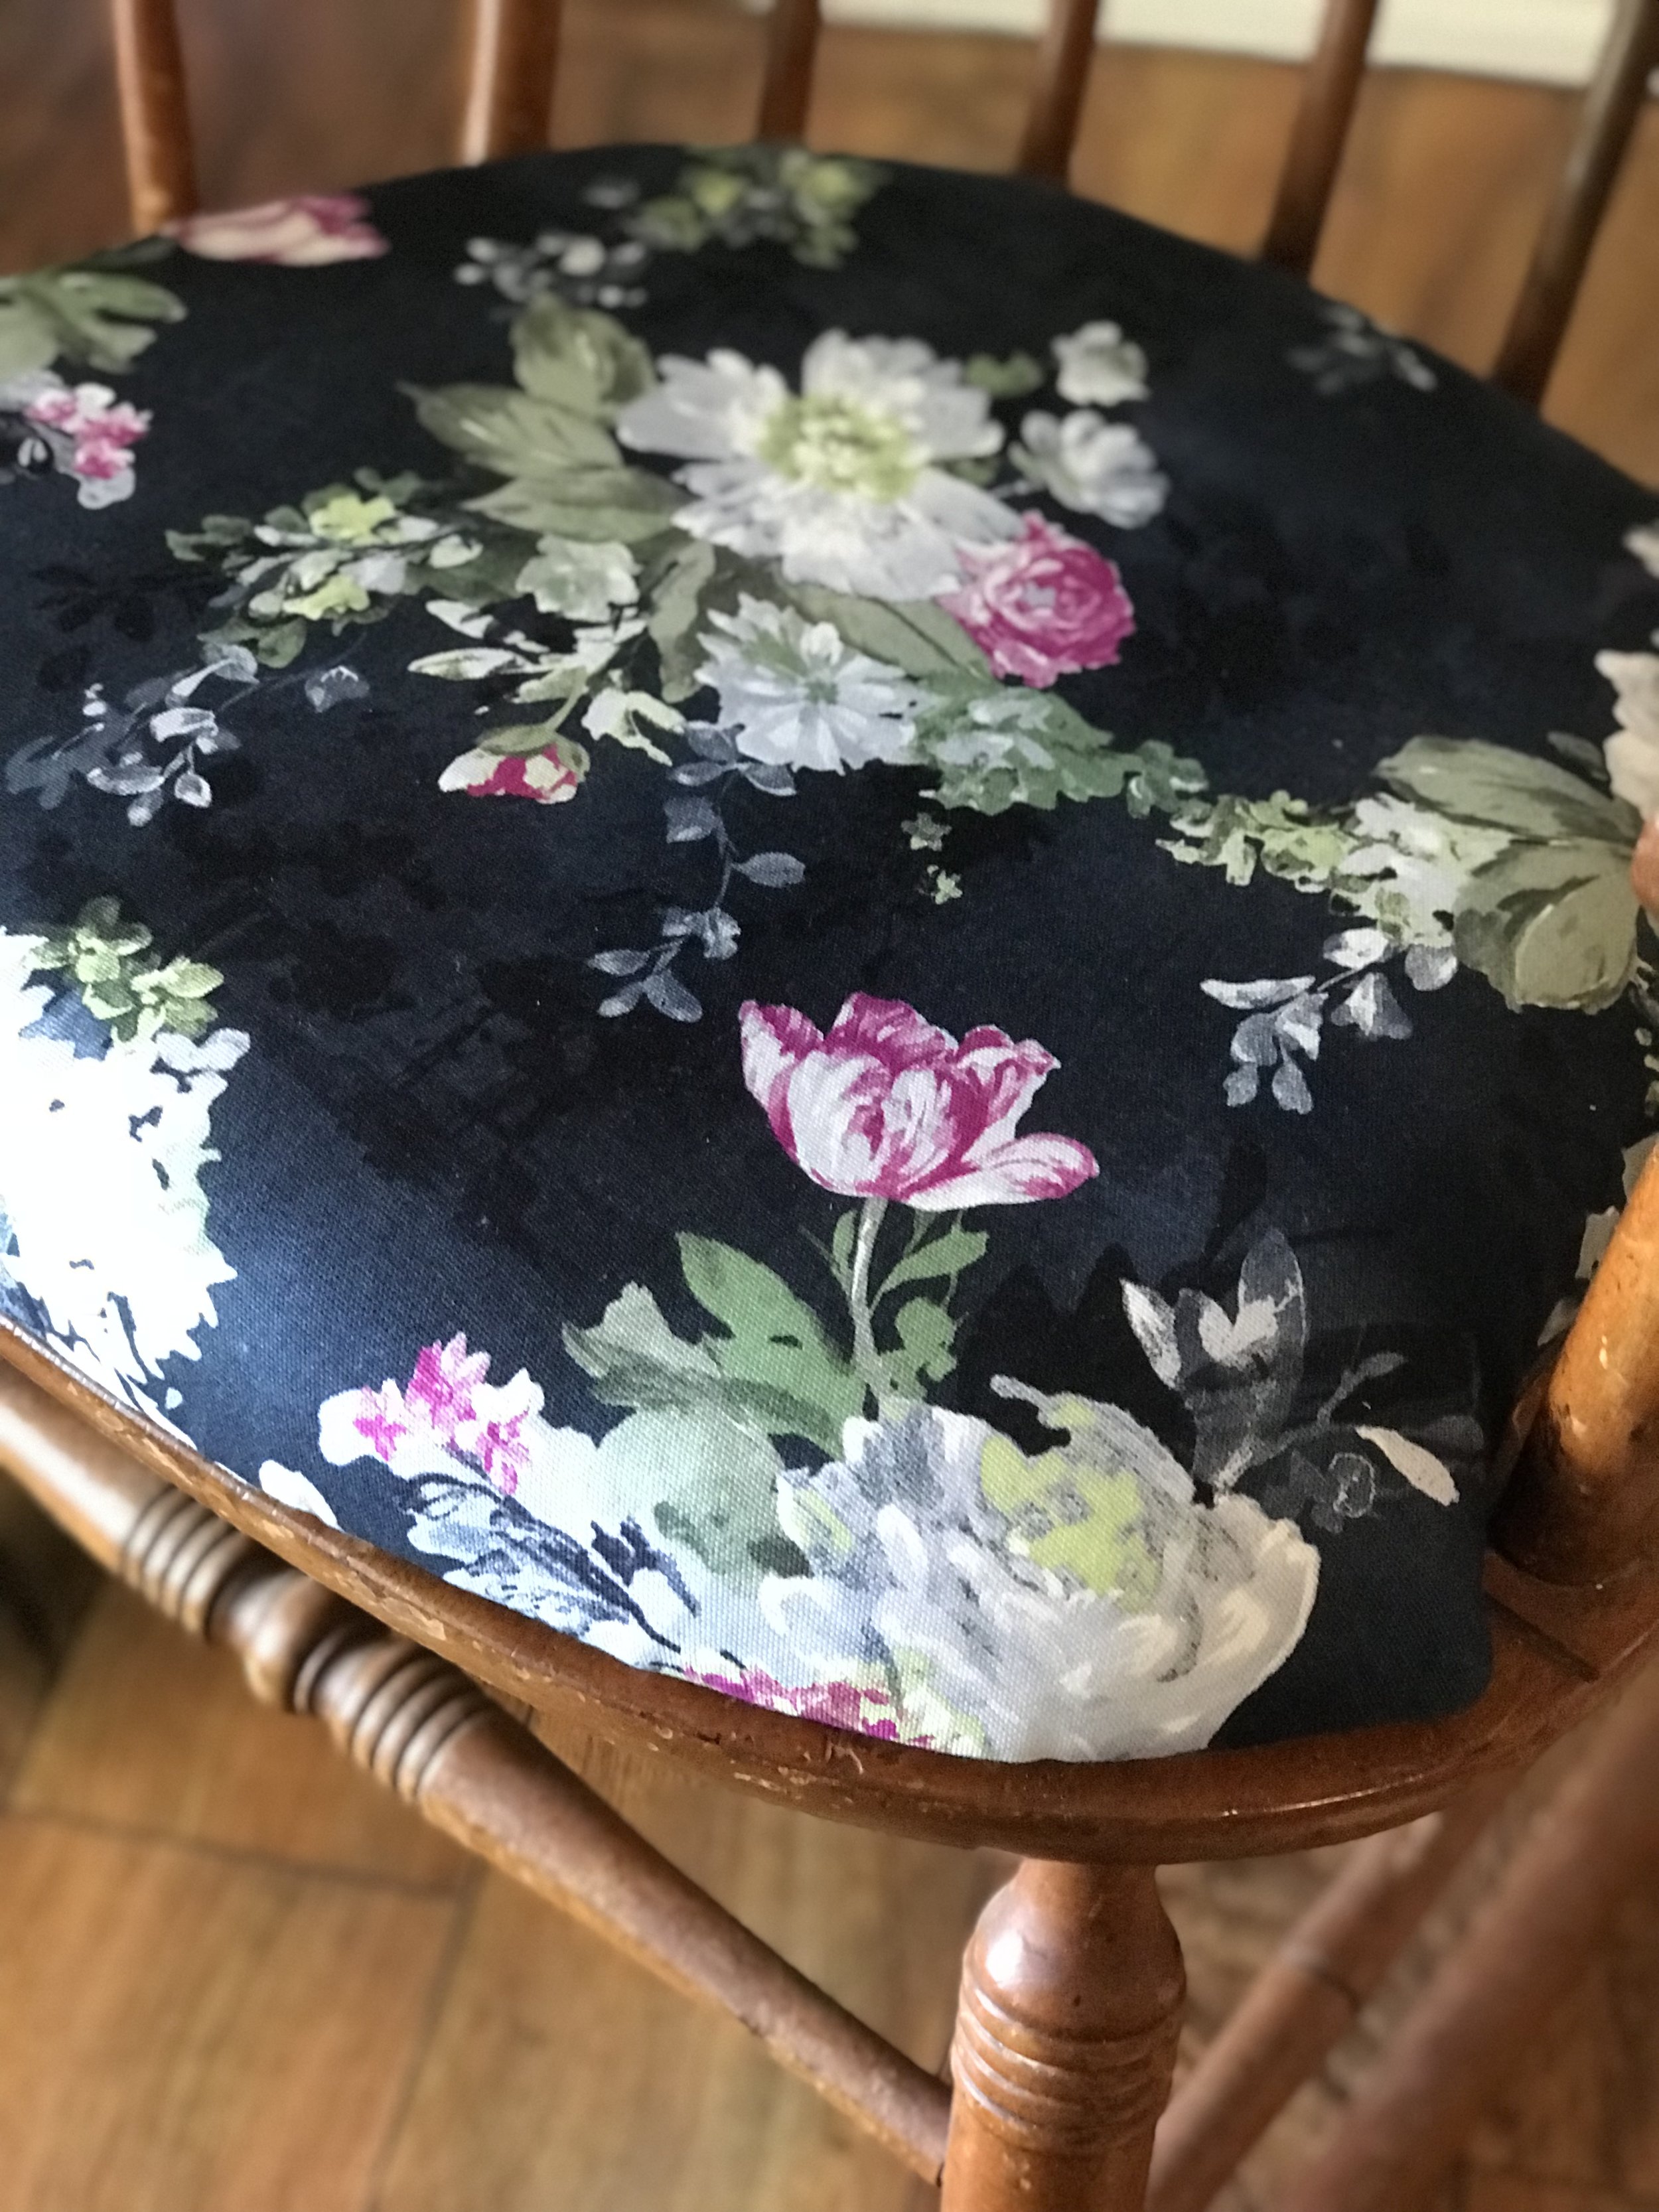
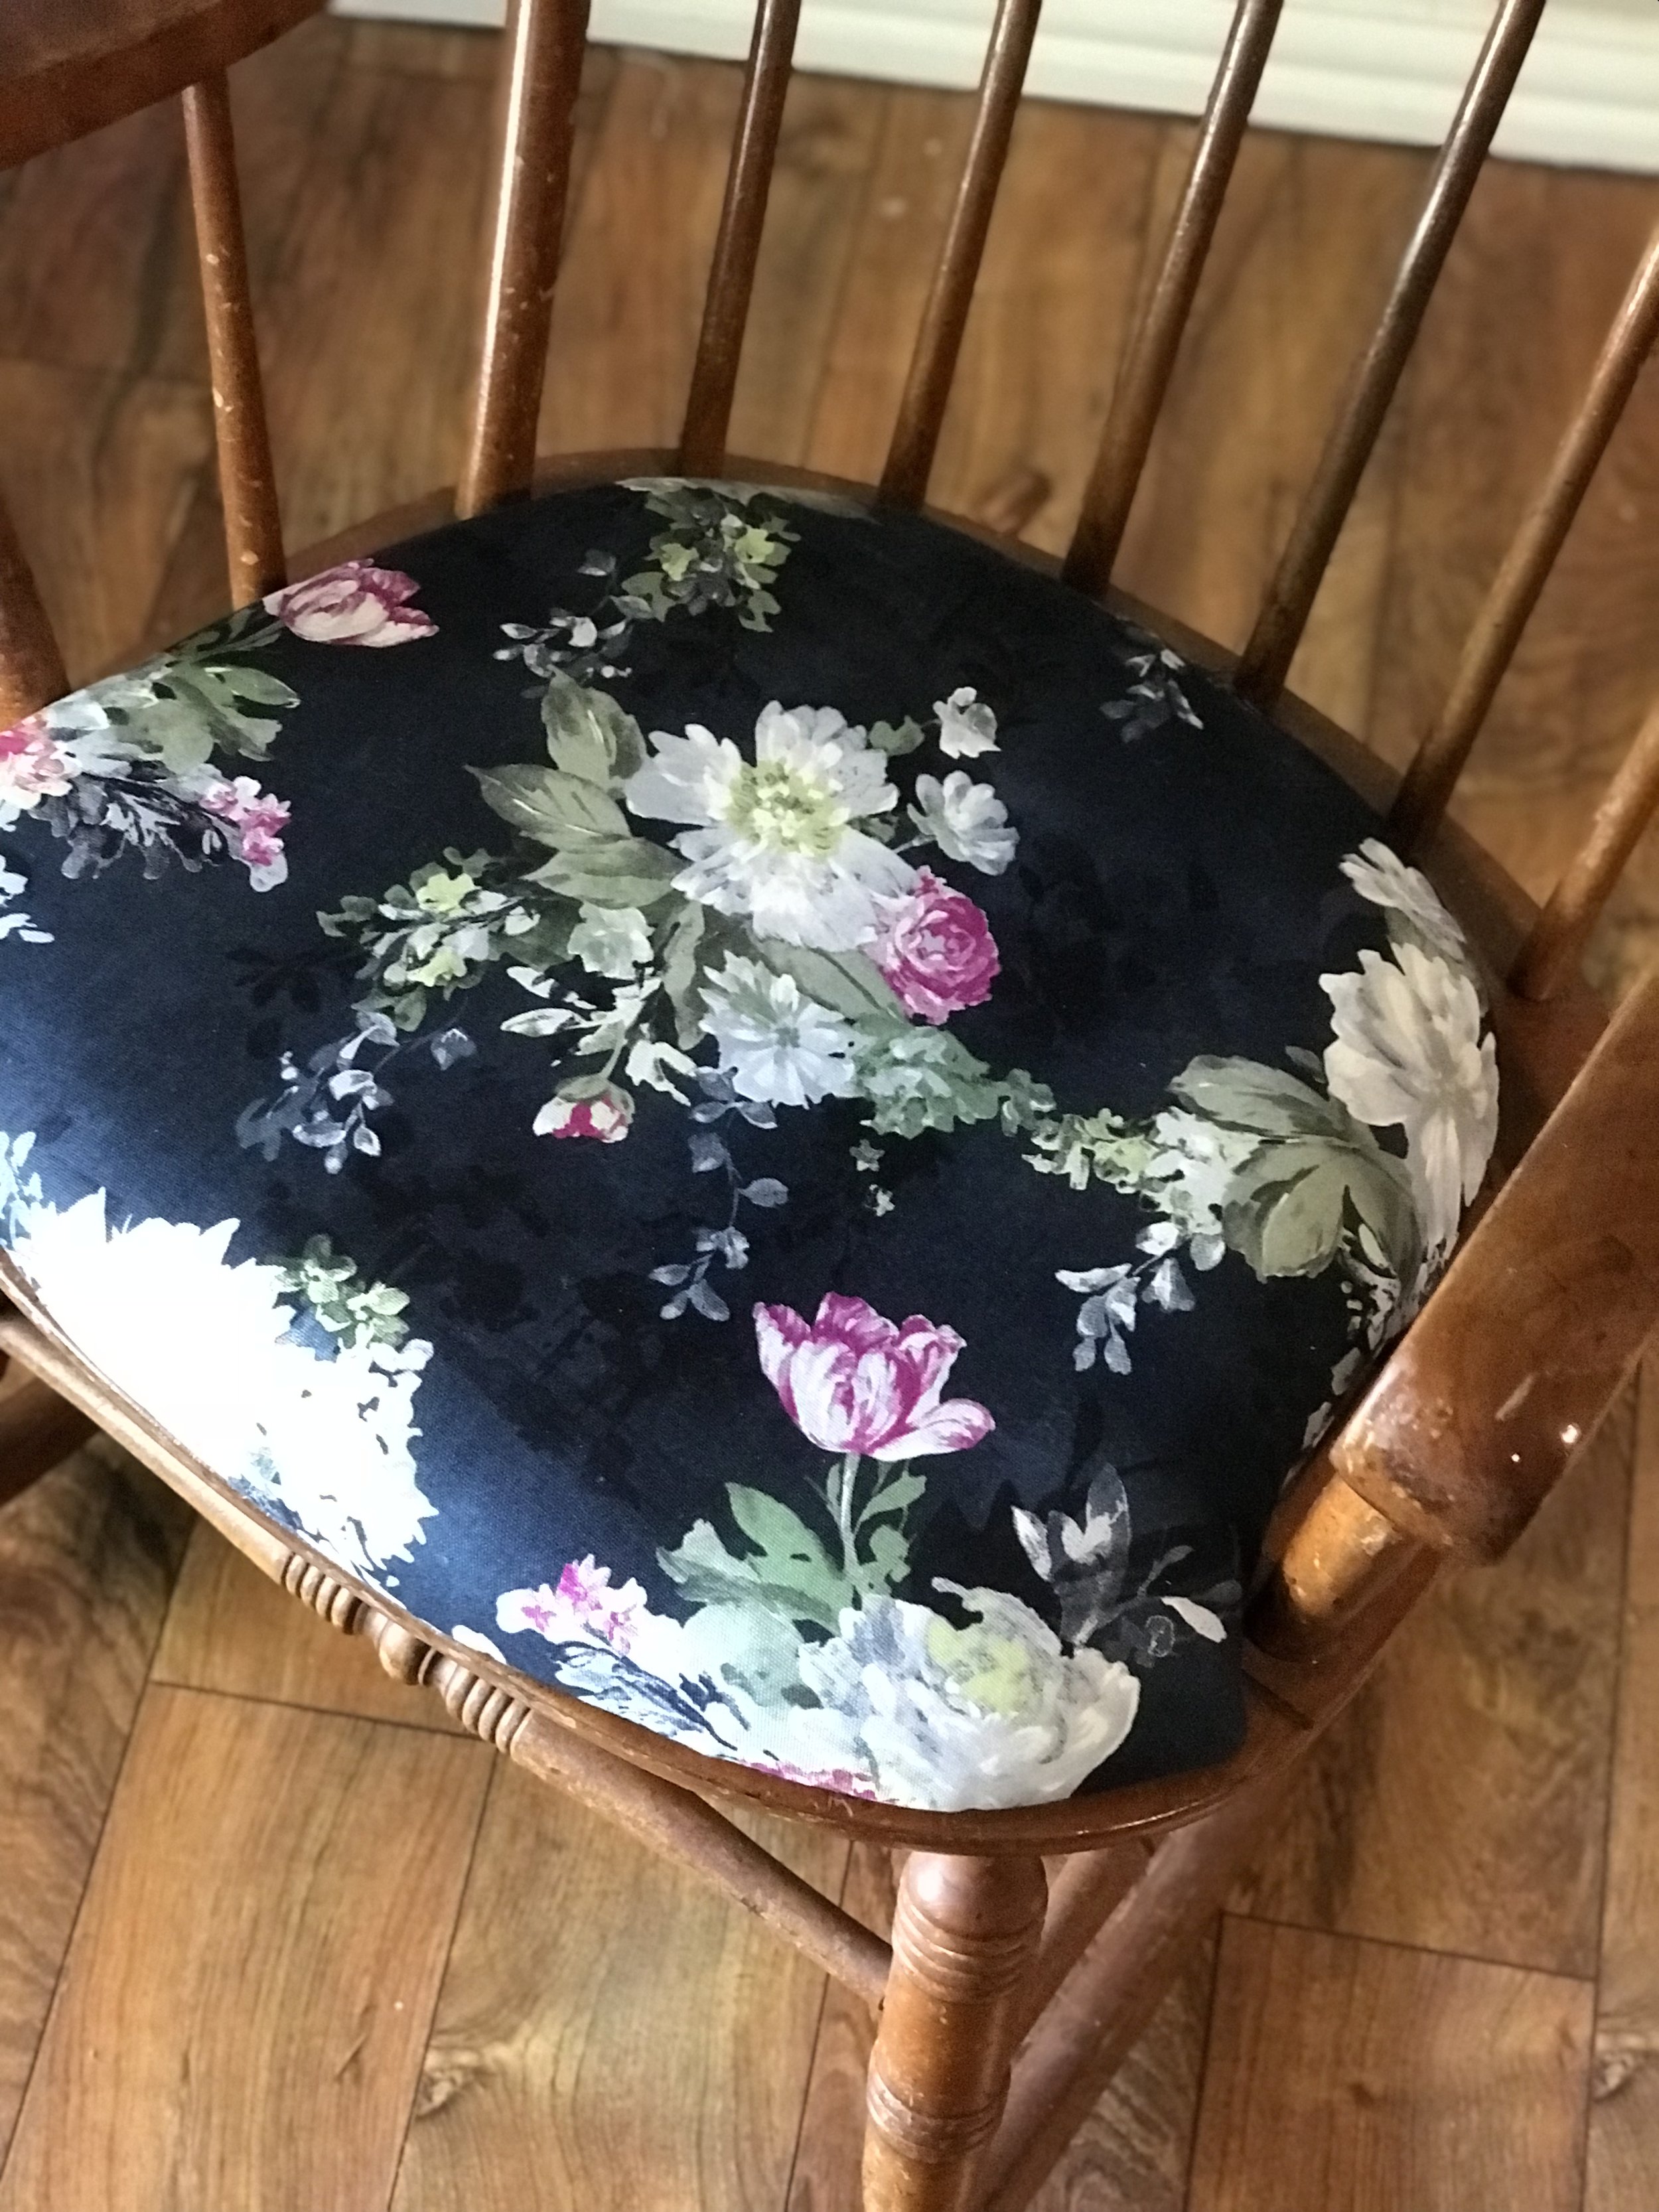
For this project I chose this beautiful floral navy fabric. Basically, you’re going to repeat the same steps from the batting.
With foam side up, lay out your fabric choice in the direction and style you want it to appear on the rocking chair.
Flip everything over and start by pulling one section right and staple about every half inch.
Once you reach a corner, pull the fabric on either side of the corner, folding in the middle to create an overlap and staple to keep a nice clean curve on the front side of you upholstery.
Periodically turn the piece over to check for any weird pulls or wrinkles in the fabric!
Once you’ve stapled all the edges of the fabric, you’re ready to size it up against your rocking chair and check out your handy work!!
Isn’t this floral fabric stunning?!
And I LOVE how you can’t even tell there were minor imperfections along the way!
I totally dropped the ball on photo-documenting this part. UGH!
Attach the now upholstered wood base to your rocking chair.
If you’re handy with a drill it shouldn’t be too hard to figure out though! I decided to use wood glue and screws. I’m sure there are other ways to acheive the same end result, do what works for you!
Working from the bottom of the chair up, use a drill bit to drill a few pilot holes where you’d like your screws to be.
Attach a generous amount of wood glue within the space that will have wood to wood contact.
Drill screws through the new pilot holes.
Place something heavy on top of the cushion to help “clamp” the wood to wood contact and ensure proper adhesion of the wood glue.
Allow to dry and admire your newly upholstered rocking chair!

You’re done!!
Before I attached the upholstered seat I painted my piece.
I color matched the lighter flowers from the upholstery fabric and did a full coverage paint job with some light grey dry brushing on the rocking chair. Now that’s garage sale chic, huh??
I’m totally in love with how this $10 garage sale find turned into a beautiful and cozy rocking chair fit for my tired mom butt to rockabye baby in!
What do you think?? Please leave a comment or shoot me a message if you try this tutorial! I would love to hear your feedback and see your pieces!
SUPPLY LIST:
Chair (duh)
1/4” scrap plywood/MDF
2” thick foam square
Fabric & batting - a yard was enough for my project.
Jigsaw
Drill
Staple gun & staples
Exacto knife
Scissors
Marker
Tissue paper
Drill bit & screws that are longer than the thickness of the seat you are working on, but shorter than the thickness of the seat +2” (you don’t want the screws poking through the foam cushion and straight into your booty!)
Wood Glue


